
Composite Decking Design Ideas
Composite decking design comes down to four decisions: colour and finish, board layout pattern, zoning across levels and how the deck integrates with planting and the rest of the garden’s palette.
Straight-laid boards in a neutral tone suit most gardens and budgets, while diagonal layouts, herringbone patterns and picture-frame borders add visual interest but need tighter joist spacing to stay structurally sound. The right combination depends on garden size, house exterior colour and how the space will be used.
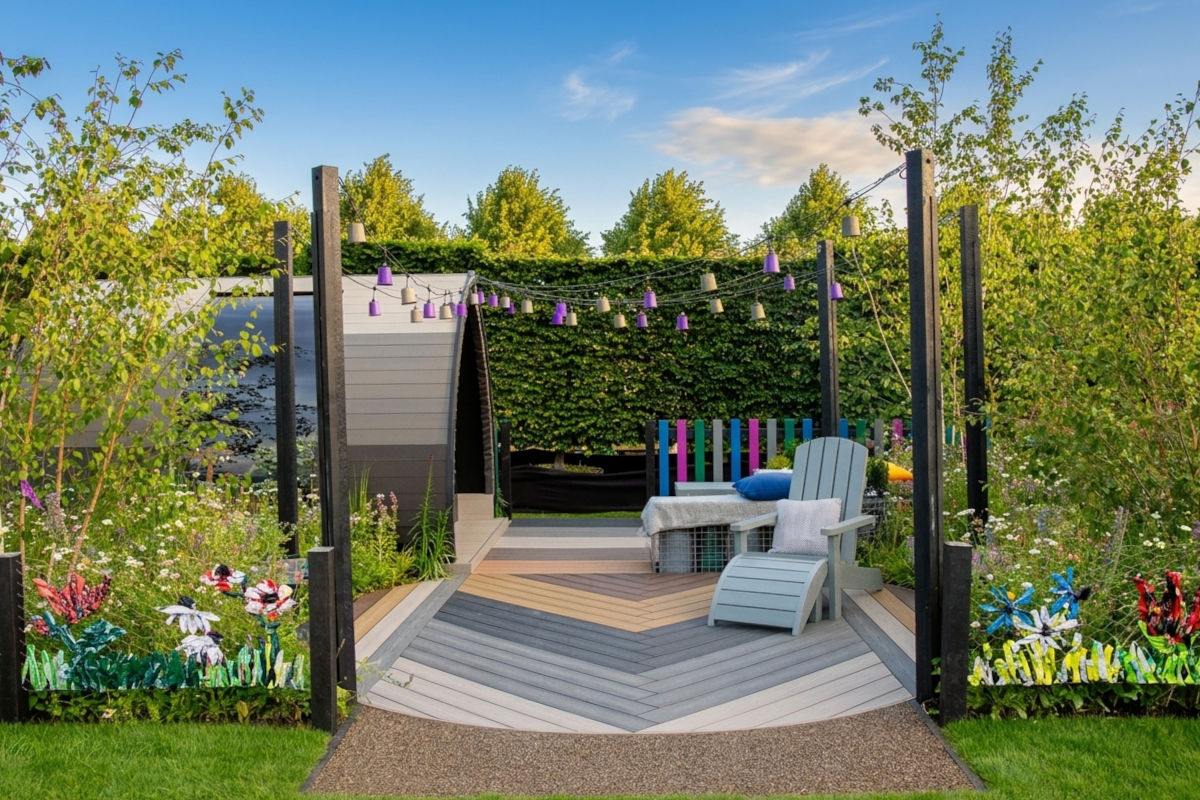
How do I choose a composite decking colour or finish?
EnviroBuild’s composite decking ranges cover two broad palettes:
Lighter tones such as Stone, Oak and Silver Birch (Explorer) or Pearl White, Marble and Larch (Frontier)
Darker tones such as Walnut, Granite and Moss Green (Explorer) or Slate, Iroko and Teak (Frontier)
Light boards tend to suit smaller or shaded gardens because they reflect more light and make the space feel more open. Darker boards suit larger, sunnier plots and pair well with modern render or dark-framed glazing, though they will feel warmer underfoot in direct sun.
Finish matters as much as colour. EnviroBuild’s Explorer boards are uncapped with a dual-sided grooved/woodgrain-embossed face, giving a slightly more textured, natural look, while Frontier boards are fully capped with a protective polymer shell for a smoother, more uniform finish and stronger stain/fade resistance.
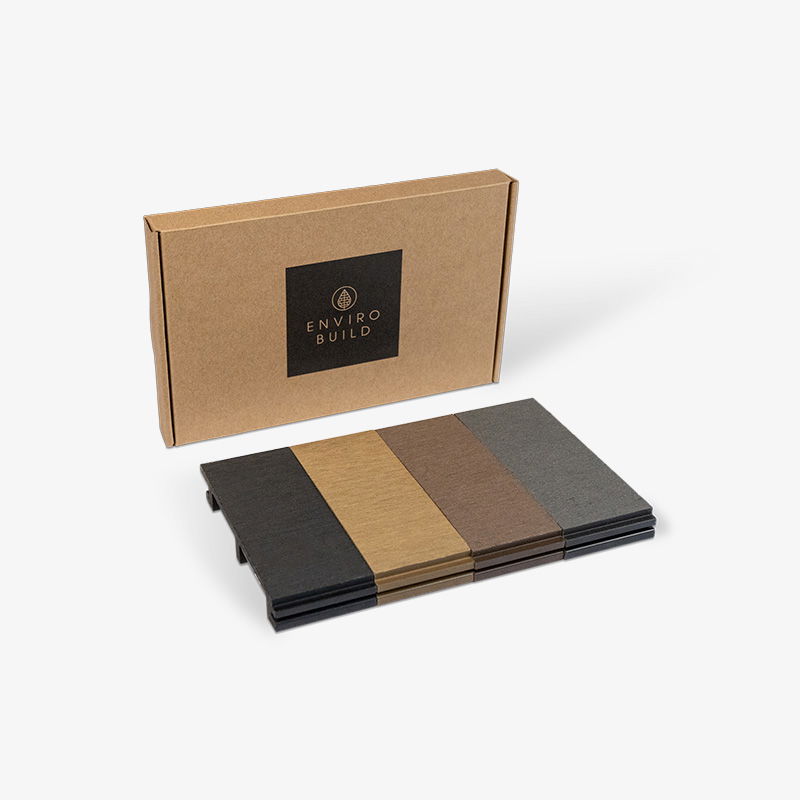
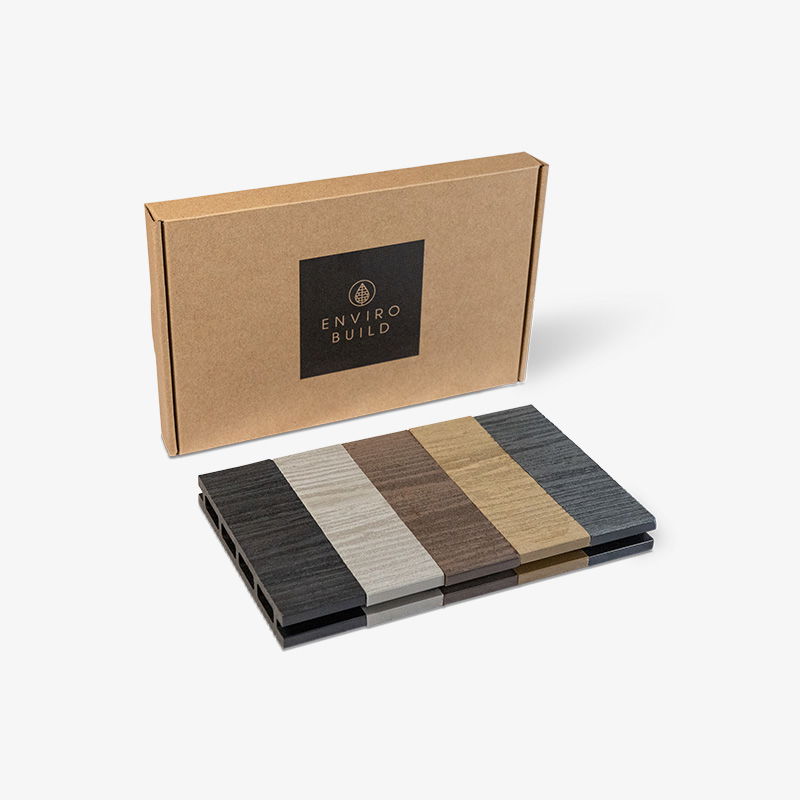
If you’re choosing between ranges for a design-led project, order physical decking samples and view them in your own garden’s light before committing, since composite tones can look noticeably different under overcast UK daylight versus a product photo.
Design Style
Explorer
Frontier
Pairs with
Coastal/Scandi
White render, pale fencing, frameless glass, weathered / driftwood-style furniture
Not sure which pairing works? Use the decking visualiser to compare board and trim colours side by side, or order free decking samples to see how they look together in your own garden.
Which decking layout pattern suits my garden?
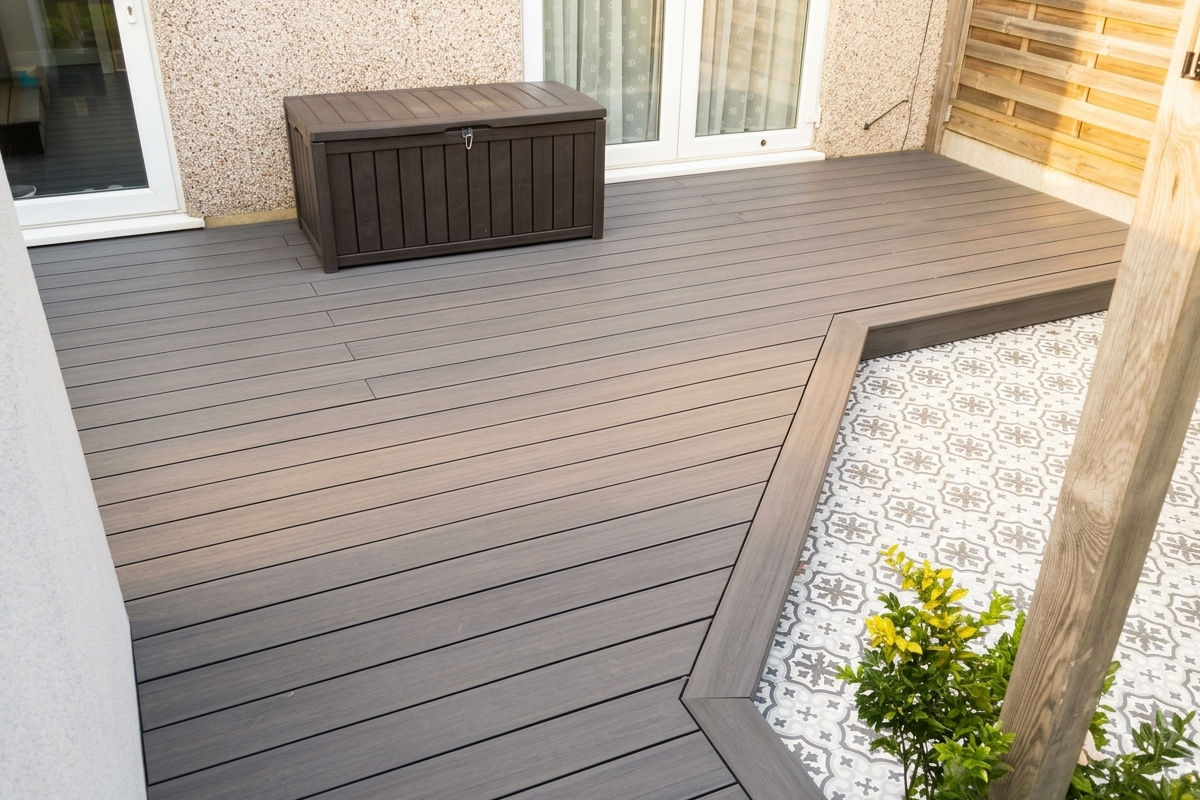
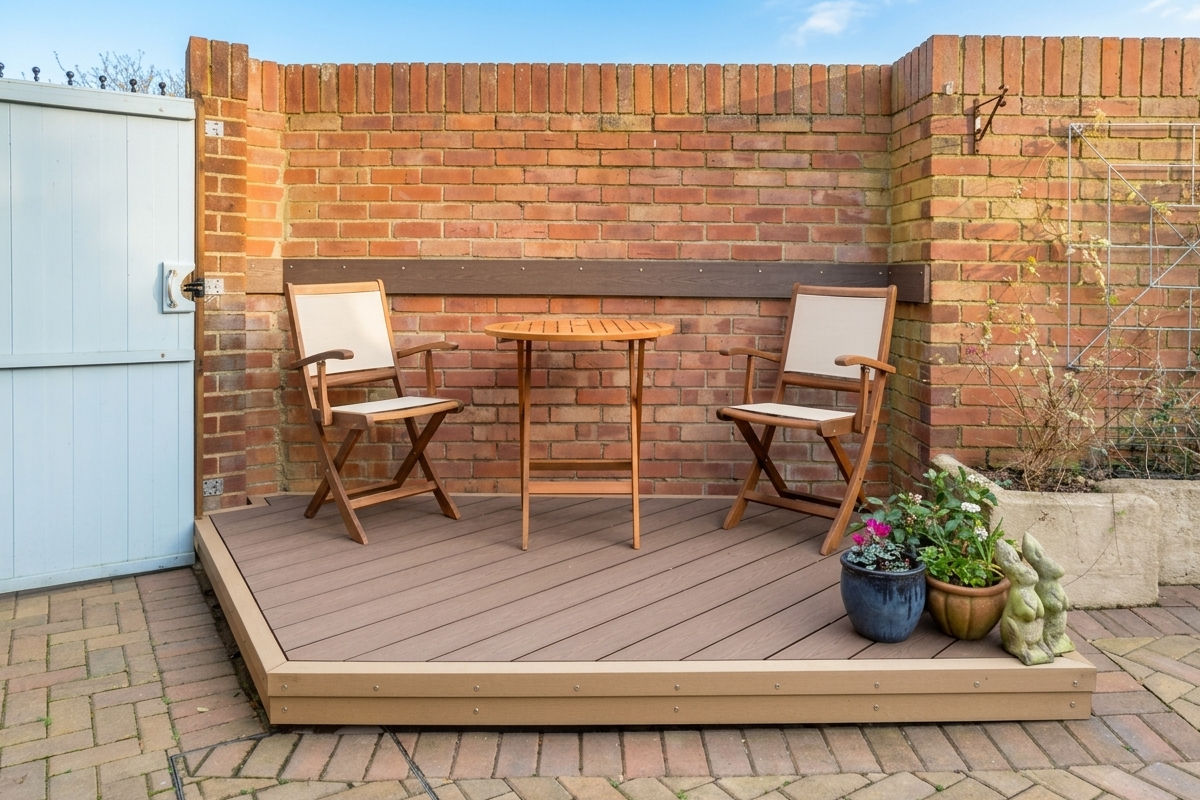
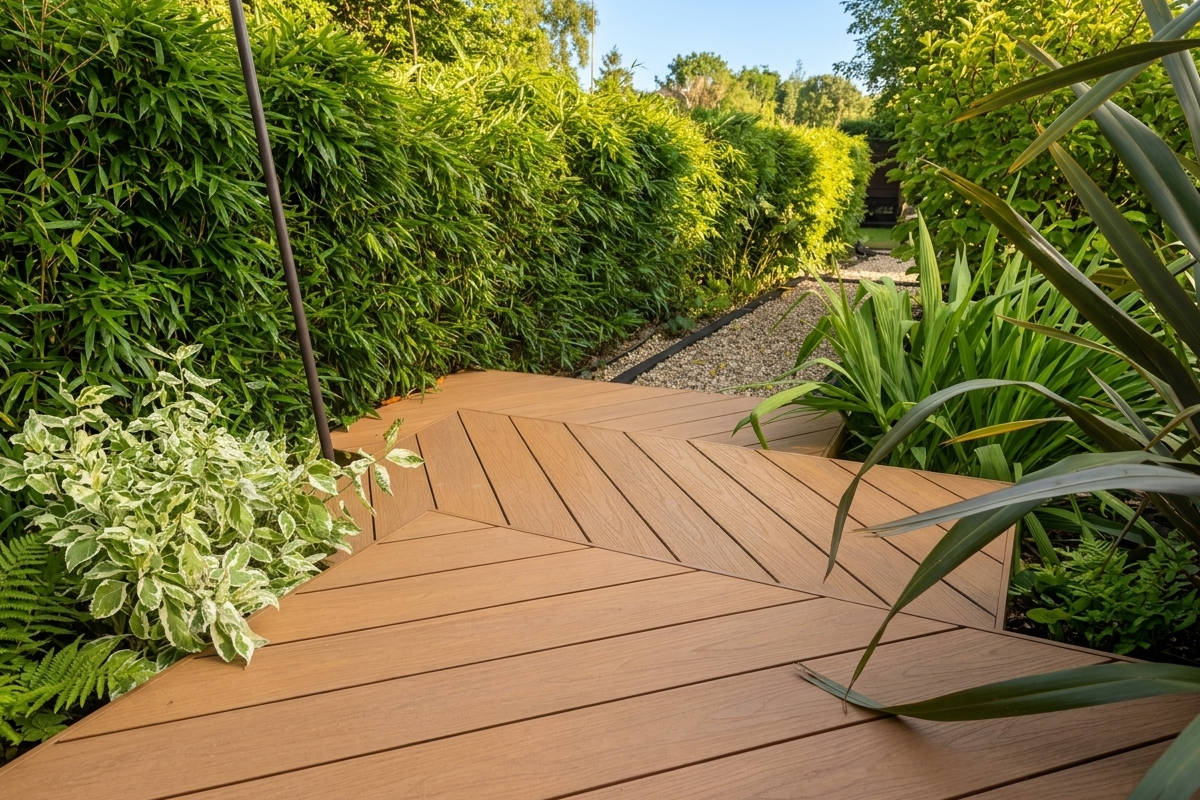
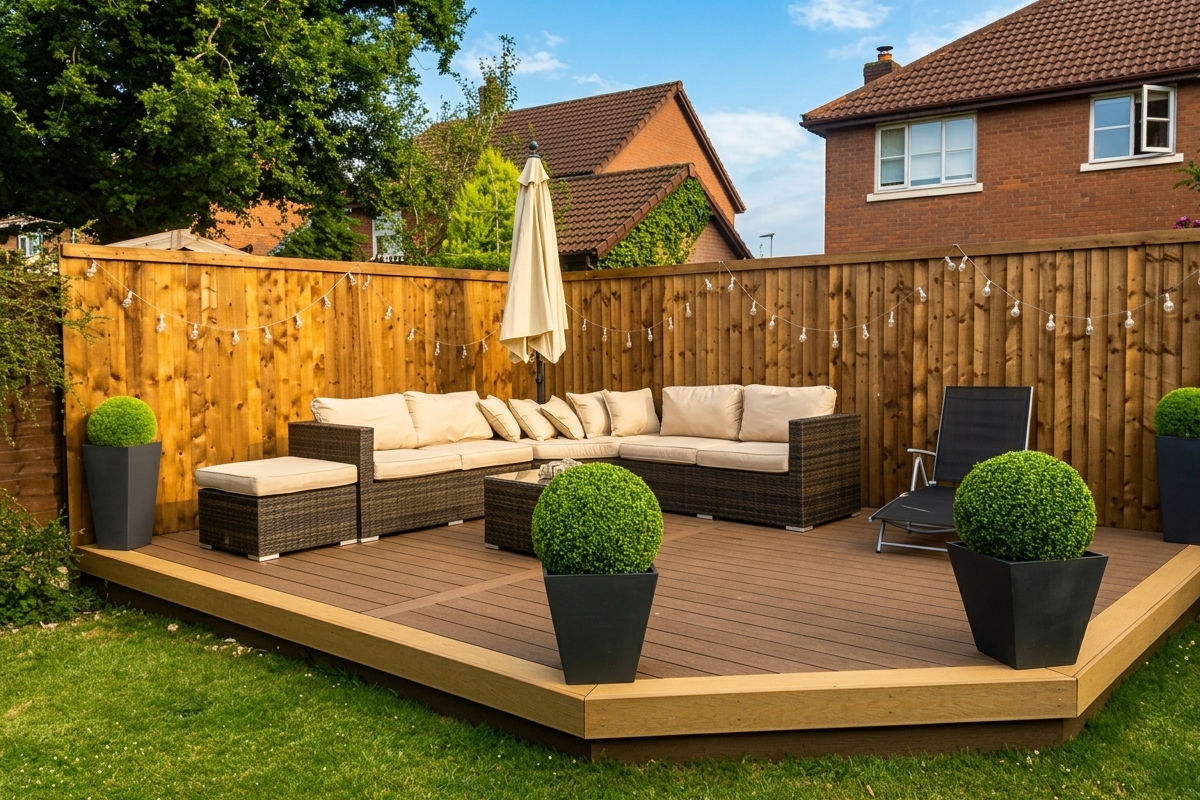
Straight-laid boards running parallel to the house are the simplest, most cost-effective layout and work in almost any garden shape.
Diagonal layouts (boards run at 45 degrees to the house or boundary) draw the eye across a space and can make a narrow garden look wider, but they generate more waste from angled cuts and need tighter joist support.
Herringbone and chevron patterns, where boards meet at an angle to form a zig-zag, create a strong focal point for a seating or dining zone but are the most complex to install and are usually reserved for a feature area rather than a whole deck.
Picture-frame borders, a contrasting colour or perpendicular board run around the perimeter, are a lower-cost way to add definition without a full pattern change, and they double as a way to hide cut ends along the deck’s edge.
As a structural rule of thumb, UK composite decking guidance recommends joist centres of around 300-400mm for standard straight-laid boards, tightened to roughly 250-300mm for diagonal layouts, because the effective span between supports increases once boards run at an angle.
Can composite decking be curved?
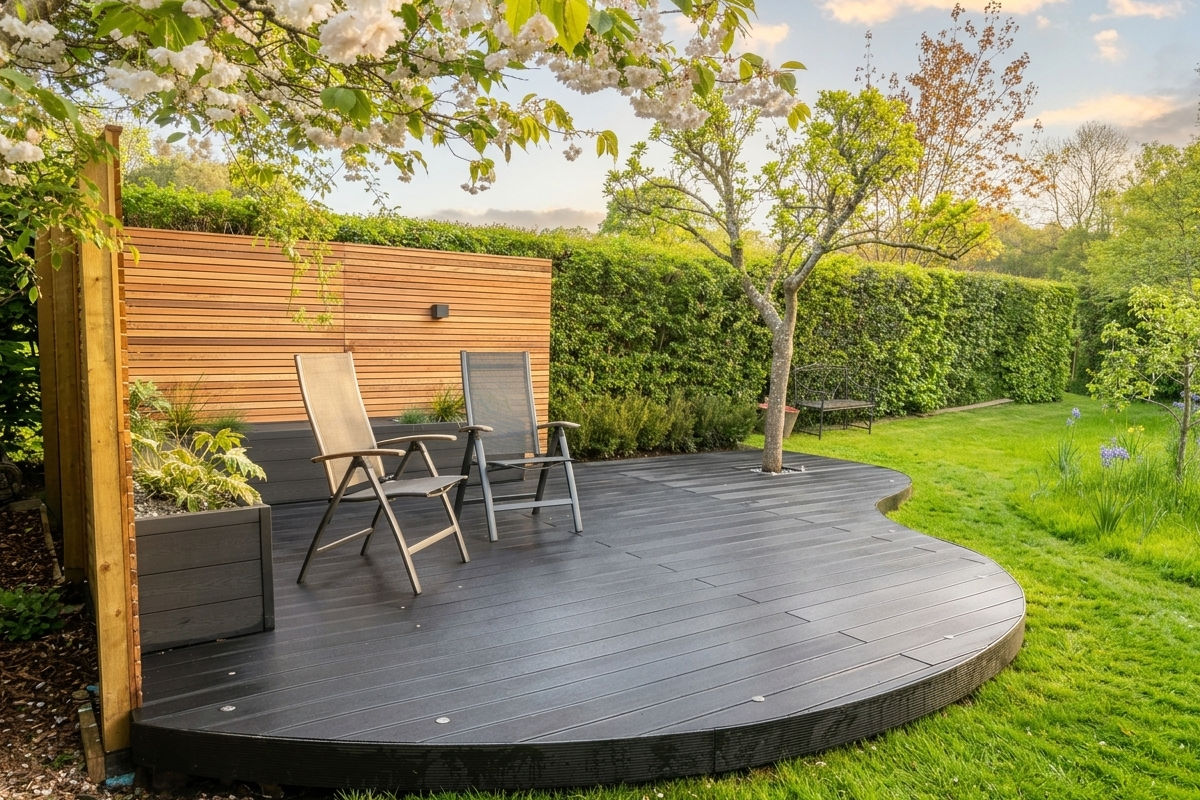
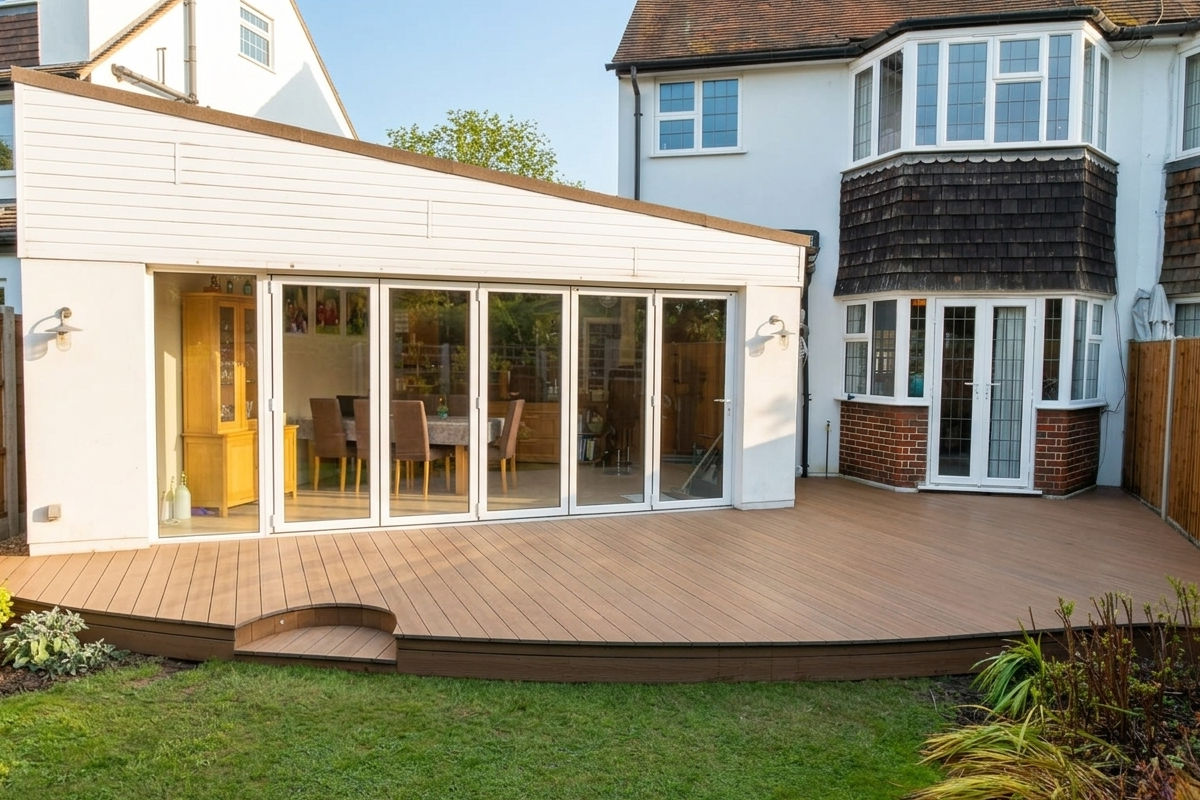
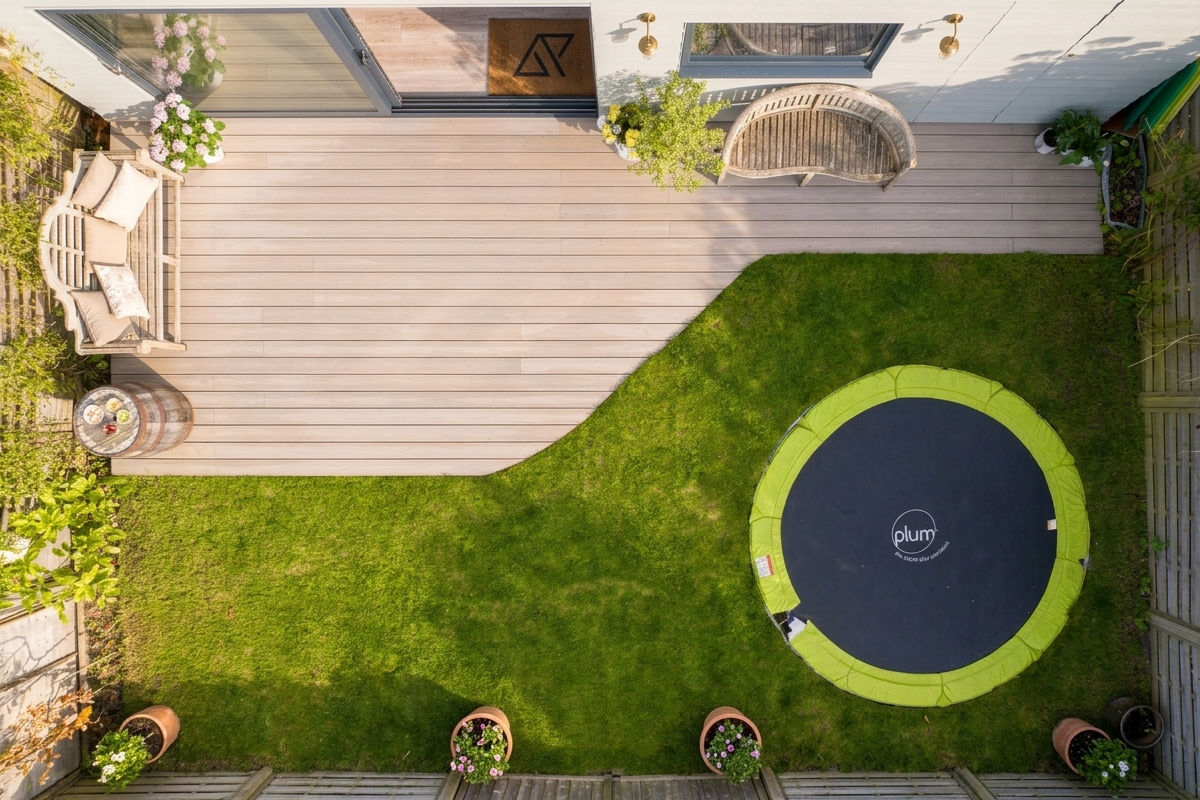
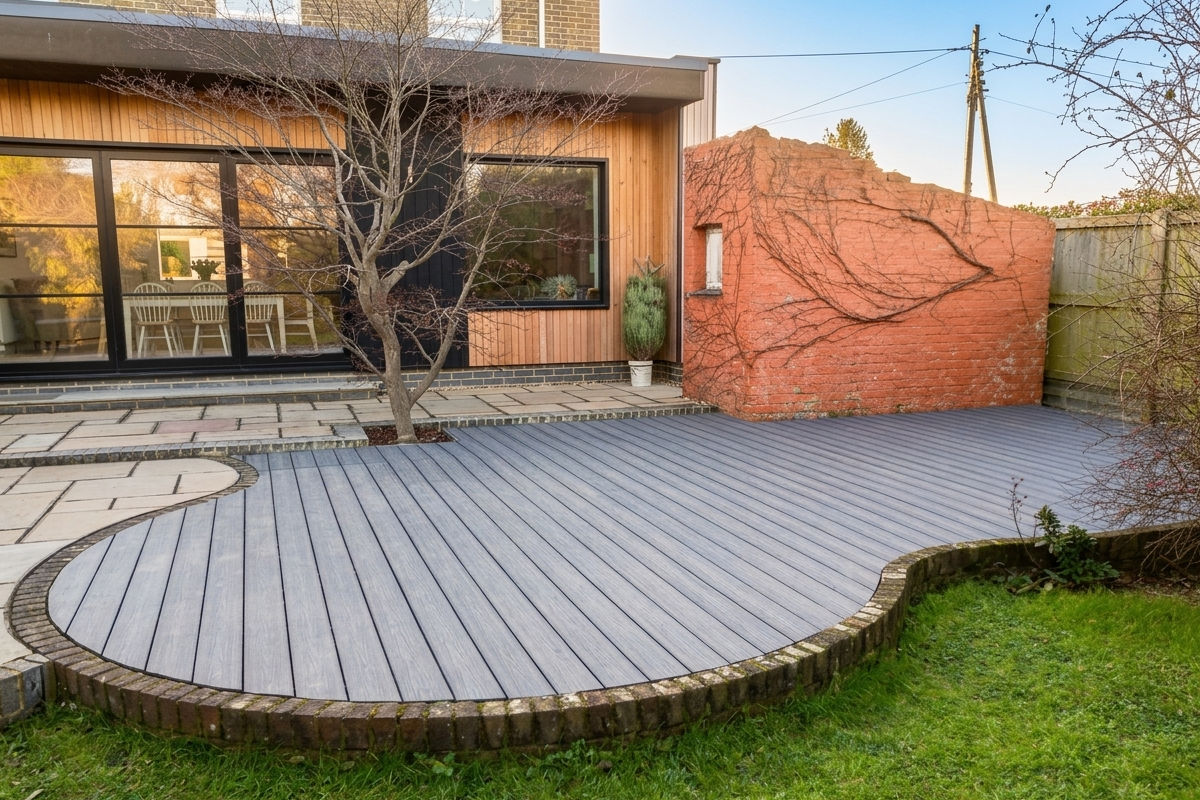
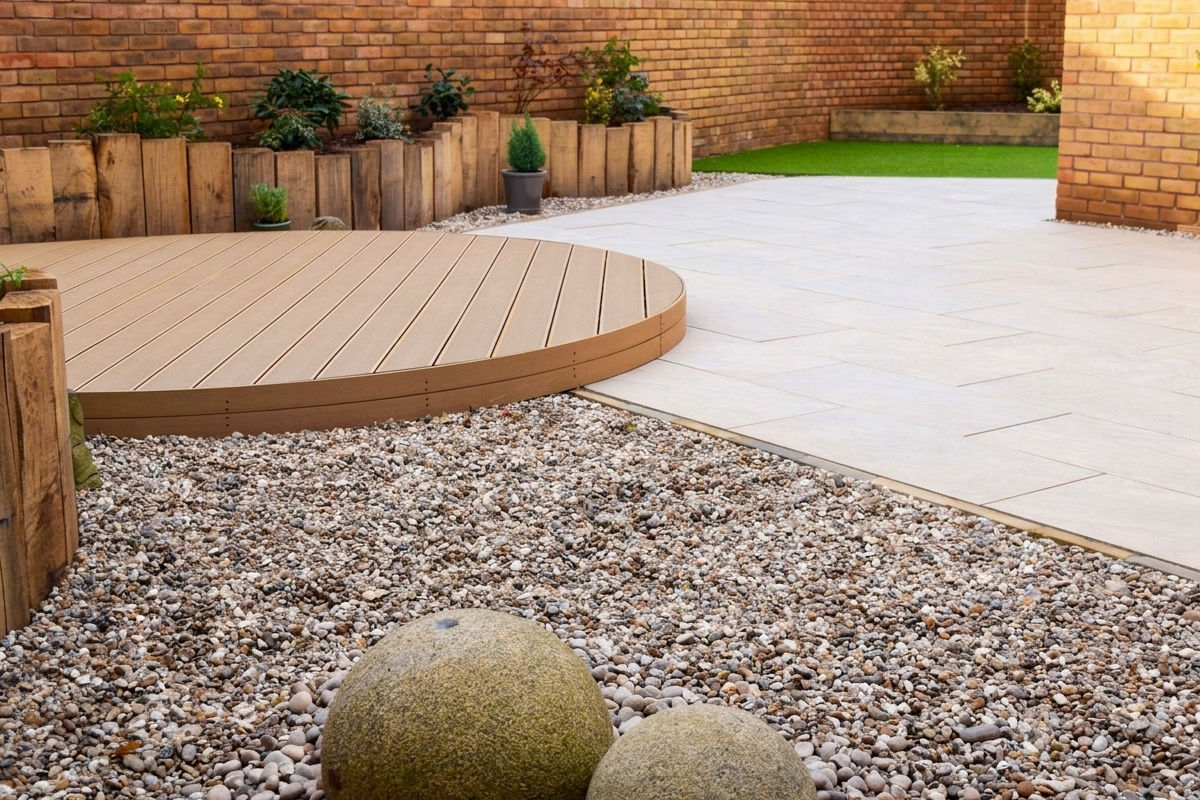
Yes, but it’s achieved by cutting rather than bending the boards themselves, composite decking is too rigid to curve naturally the way timber can. EnviroBuild’s own guidance describes cutting boards to a curve with a circular saw, following a curved joist layout where each joist is angled (up to around 45°) and kept as close to perpendicular to the curve as possible, with straight lumber braces filling the gaps between angled joists. The edge itself is finished with a flexible fascia board, which, unlike the deck boards, bends around the curve; it’s a two-person job, one applying gentle pressure while the other screws it into place.
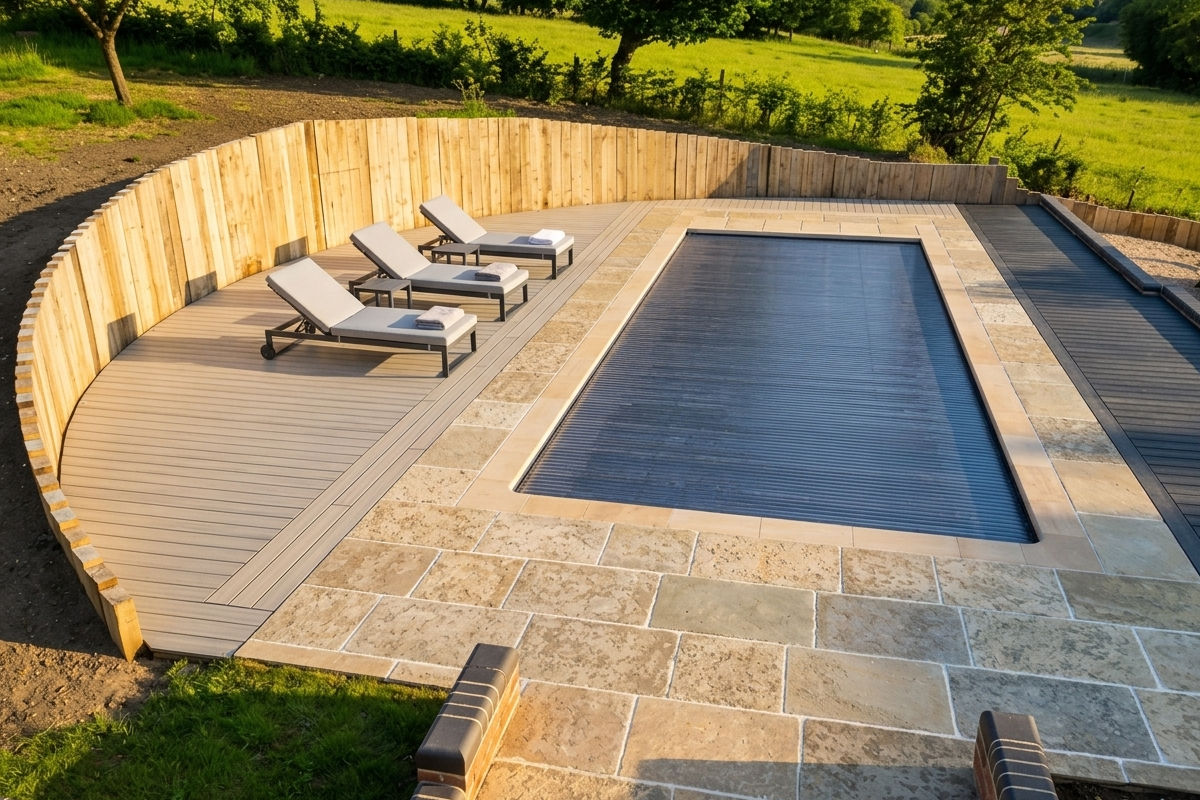
Curved decking works well for circular seating areas, a wraparound deck that follows a rounded garden boundary or pool edge, or a sweeping transition around a feature tree or fire pit, softening the straight lines of a rectangular deck and, in a smaller garden, making the space read as larger than a boxy, straight-edged layout would. It’s a more involved build than a standard straight-laid deck, since the joist layout has to be planned around the curve before any boards go down, so it’s worth discussing with your installer at the design stage rather than as a late change.
How can multi-level or zoned decking improve garden design?
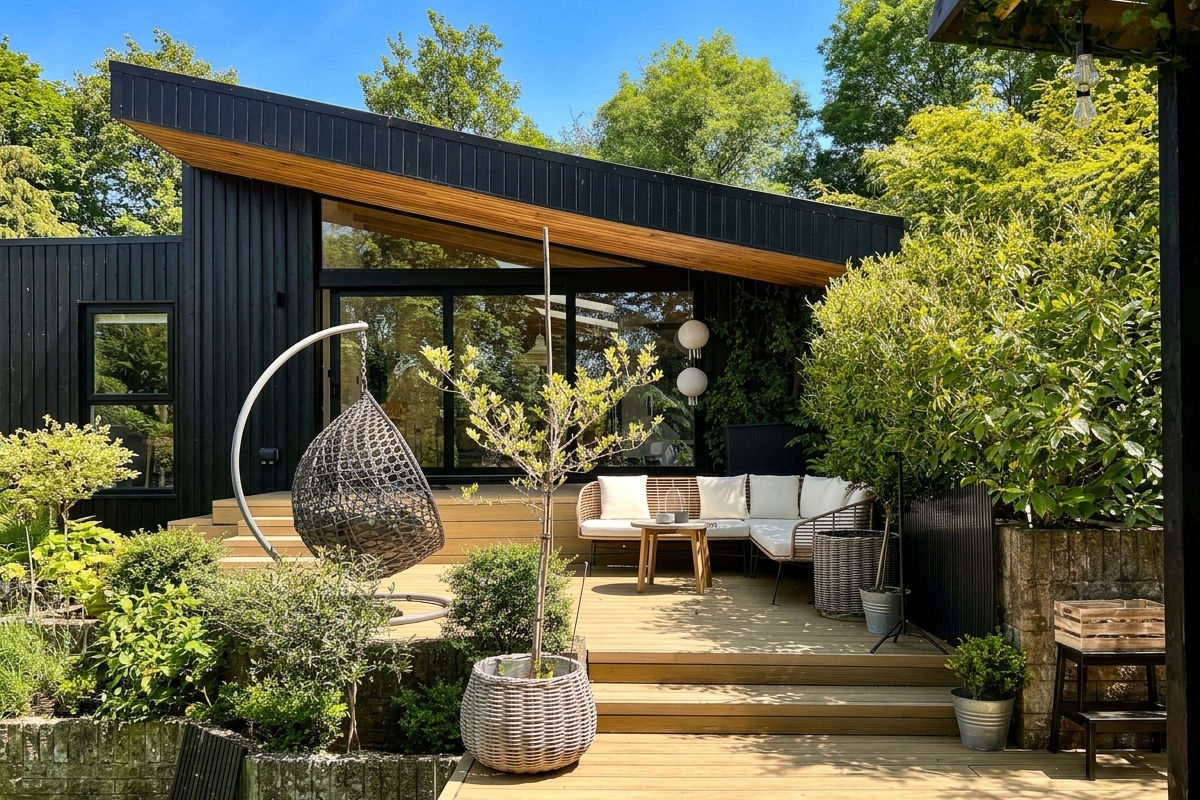
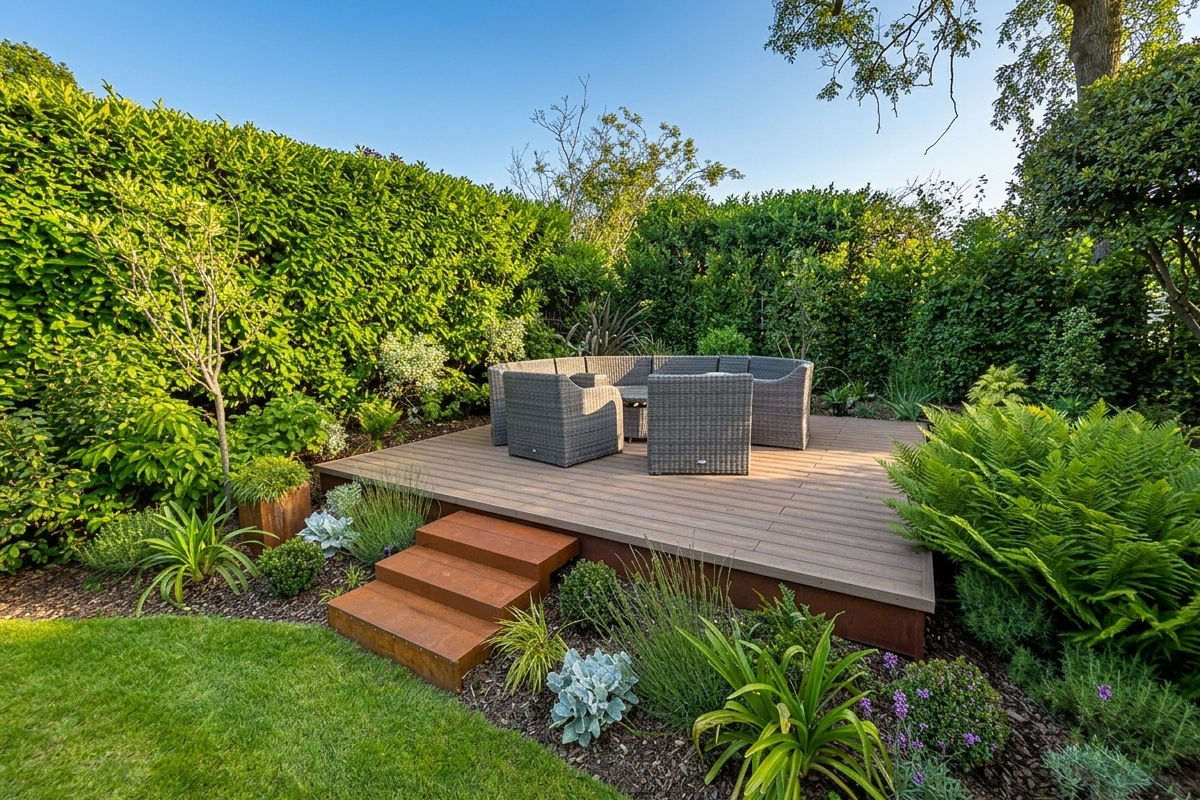
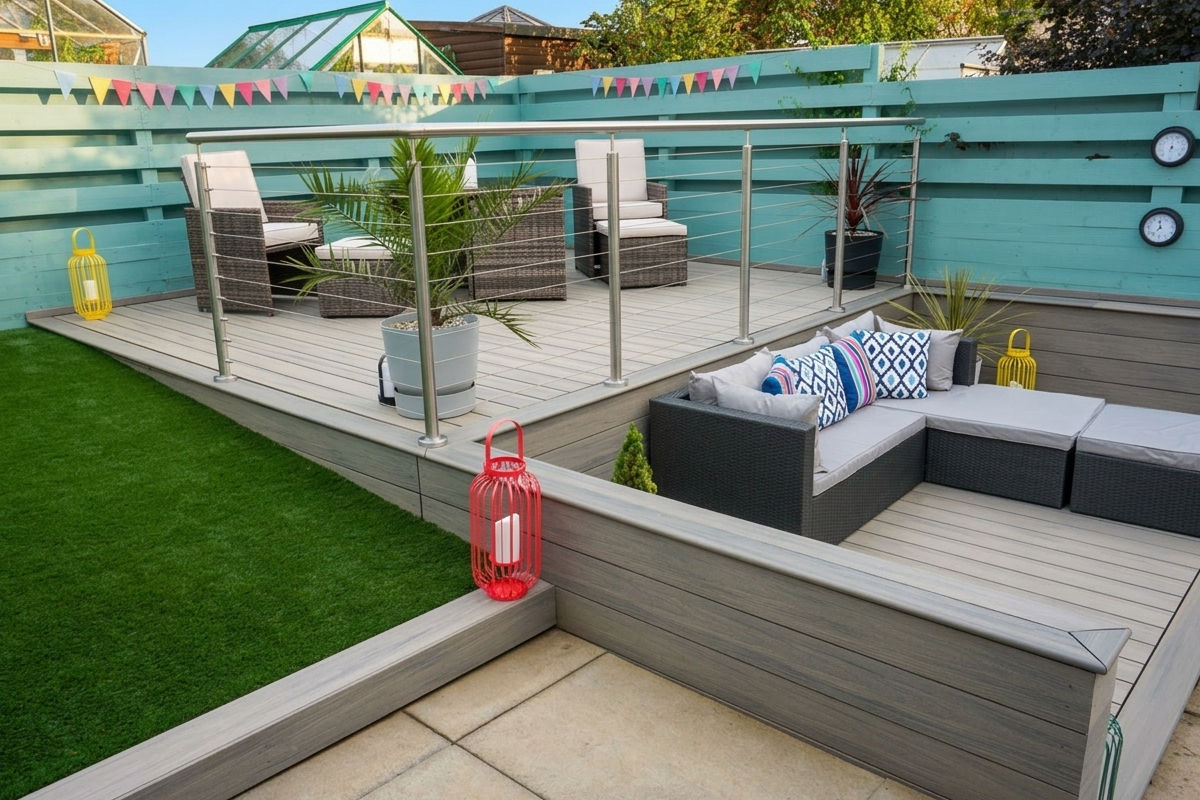
Splitting a deck into two or three levels, even a single step of 150–200mm, is one of the most effective ways to define separate zones (dining, lounging, hot tub) without adding walls or full-height screens.
Levels are usually built by varying joist height on the existing subframe or using adjustable decking pedestals on a paved base, which also helps the deck follow a sloping garden without extensive groundwork.
Colour or pattern changes at each level boundary reinforce the zoning further: a straight-laid main deck with a contrasting diagonal or picture-framed step is a common way to separate a dining area from a lawn-facing lounging area. This approach works best on gardens large enough to give each zone proper breathing room, trying to fit three levels into a small courtyard usually makes the space feel busier rather than more defined.
How do you design decking around a hot tub?
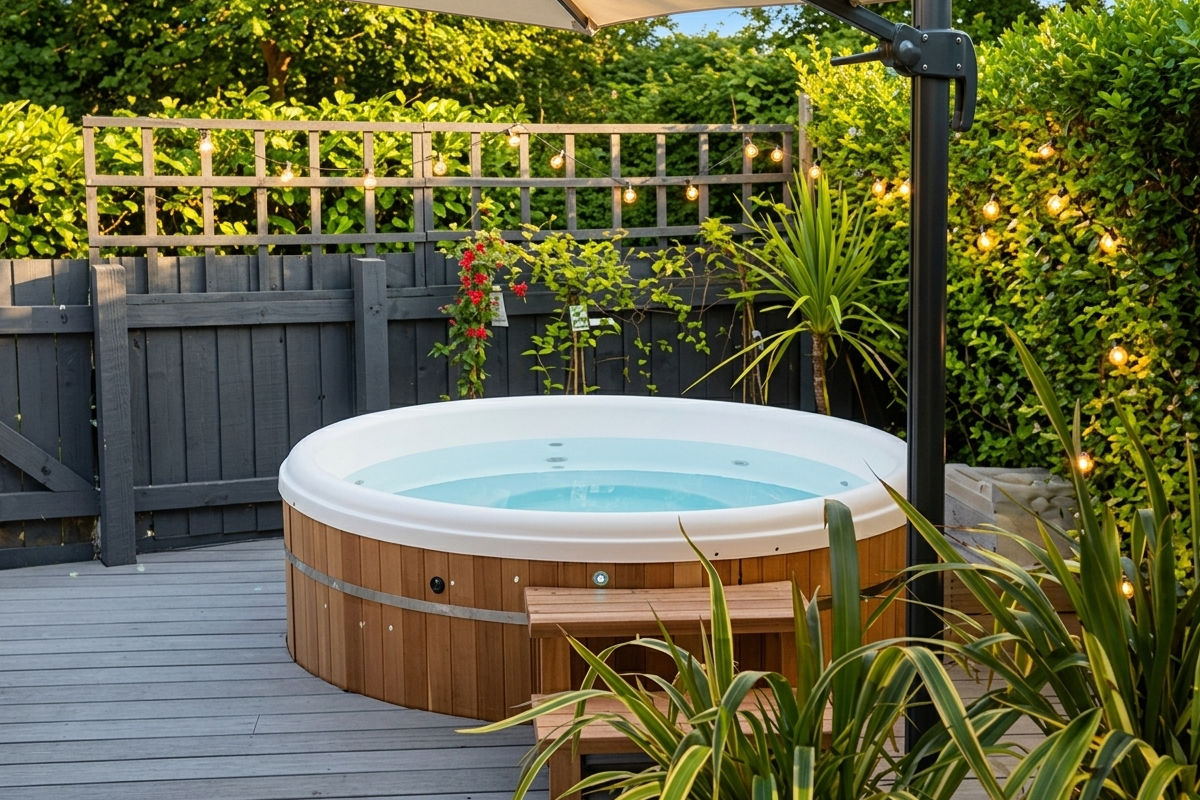
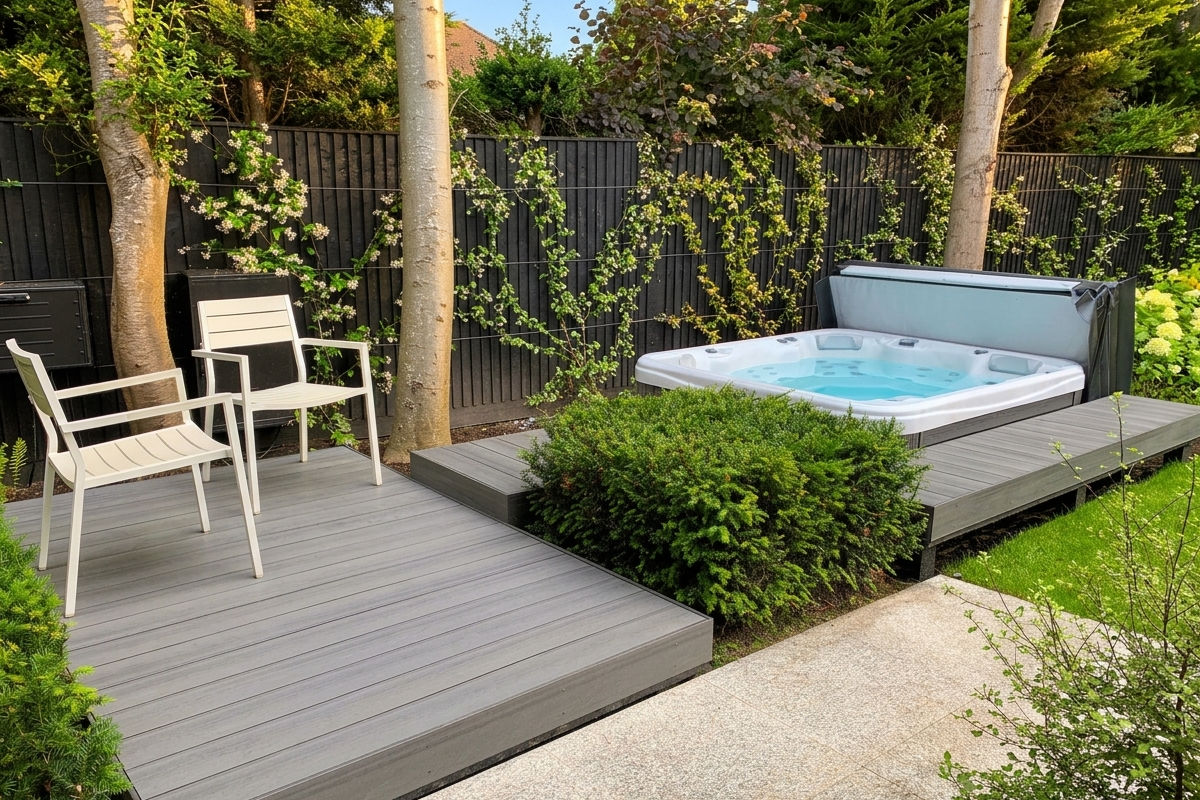
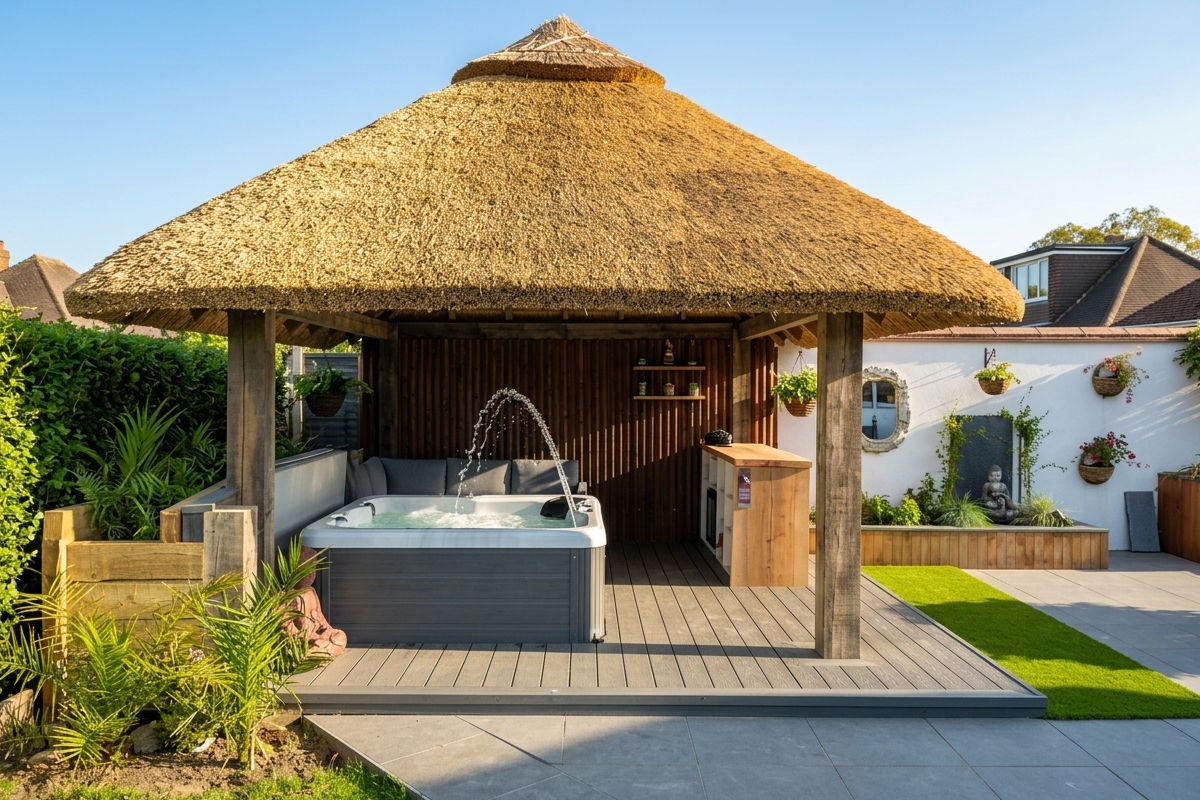
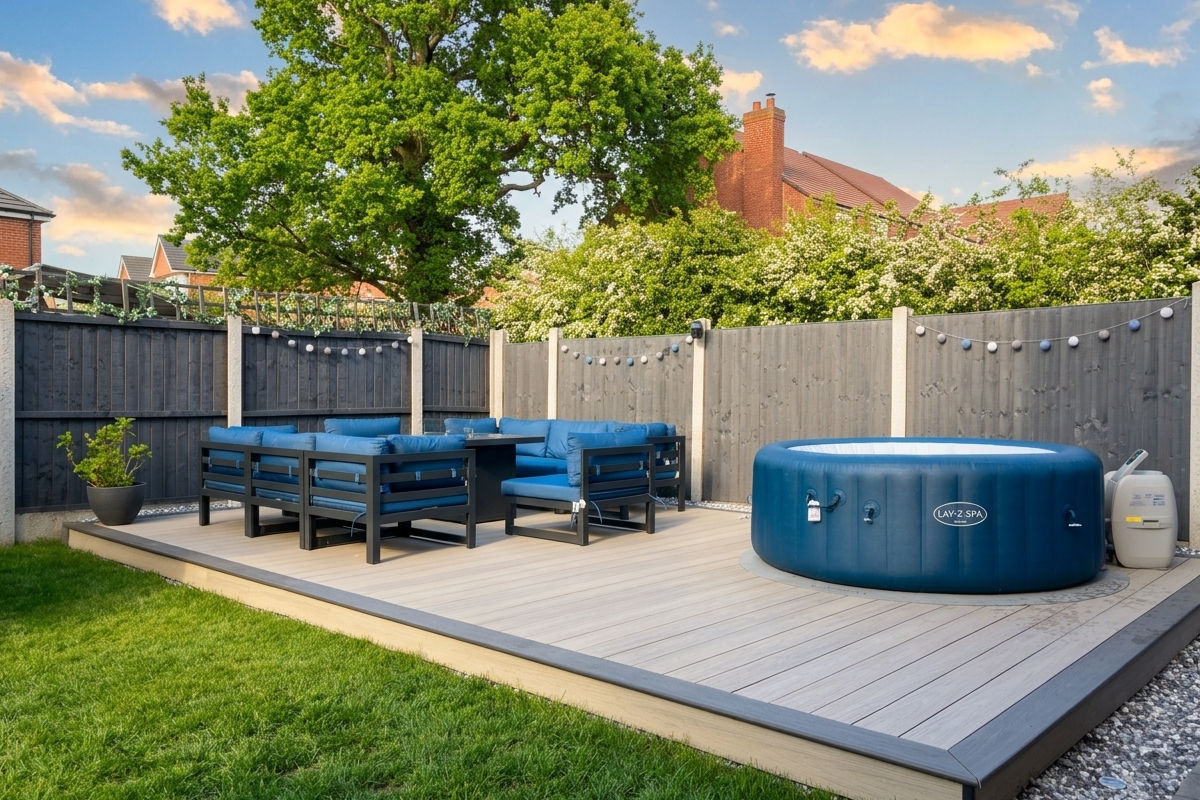
A hot tub is one of the most common reasons to zone a deck, and design and structure need to be planned together rather than treating the tub as furniture dropped onto a finished deck. A sunken or lowered tub bay, a step down into a dedicated hot tub zone, or a colour or pattern change marking out the tub’s footprint are all common ways to visually separate it from the main seating or dining area, echoing the same zoning approach used for multi-level decks generally.
A capped range is worth prioritising for the tub zone specifically, since constant splashing and humidity are harder on an uncapped board’s exposed wood-fibre surface than ordinary rainfall.
Structurally, a filled hot tub is genuinely heavy, a 4–6 person tub can weigh 1,500–2,500kg with water and occupants, concentrated over roughly a 2m² footprint, so the joists and foundations under the tub need their own reinforced design (typically 300mm joist centres or tighter, plus posts landing on concrete pads directly under the tub, and a removable access panel for the pump). That’s a structural engineering question rather than a design one, so see our dedicated guide to decking for a hot tub for the load calculations and substructure detail, and always confirm the design with a structural engineer or Building Control before building.
How do I integrate lighting into a composite deck design?
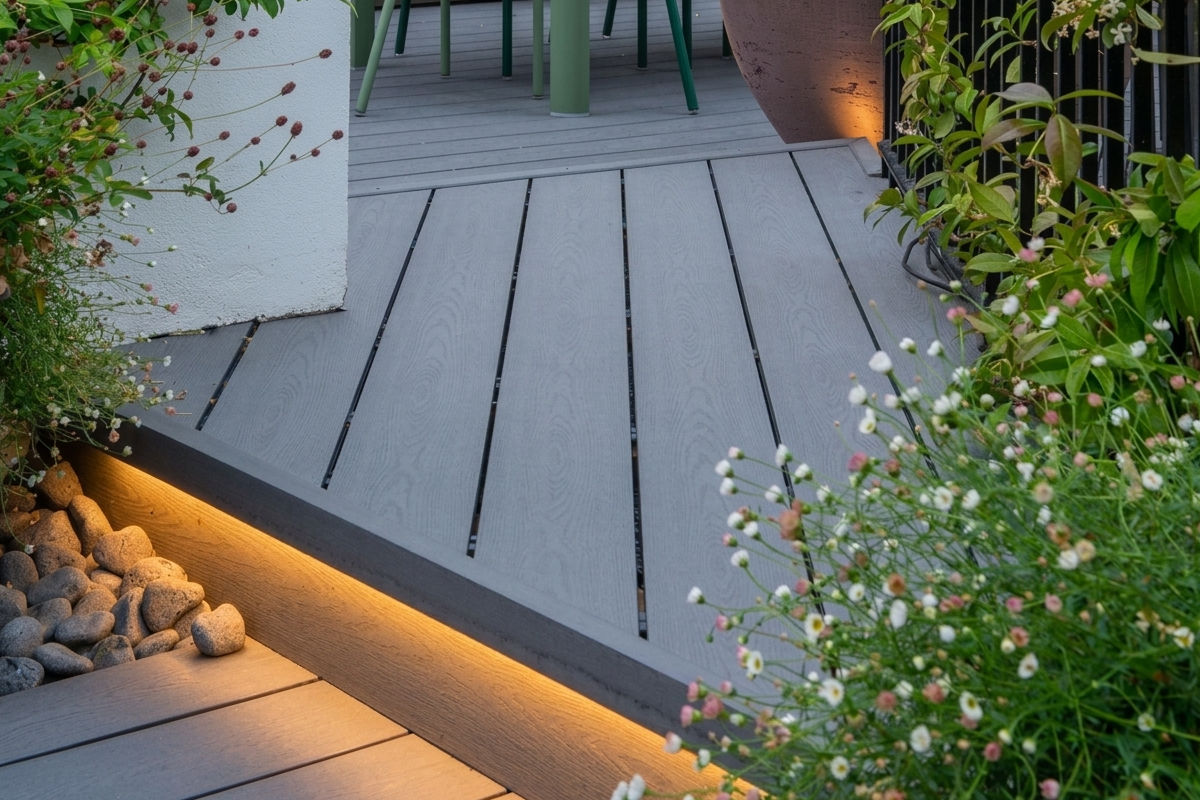
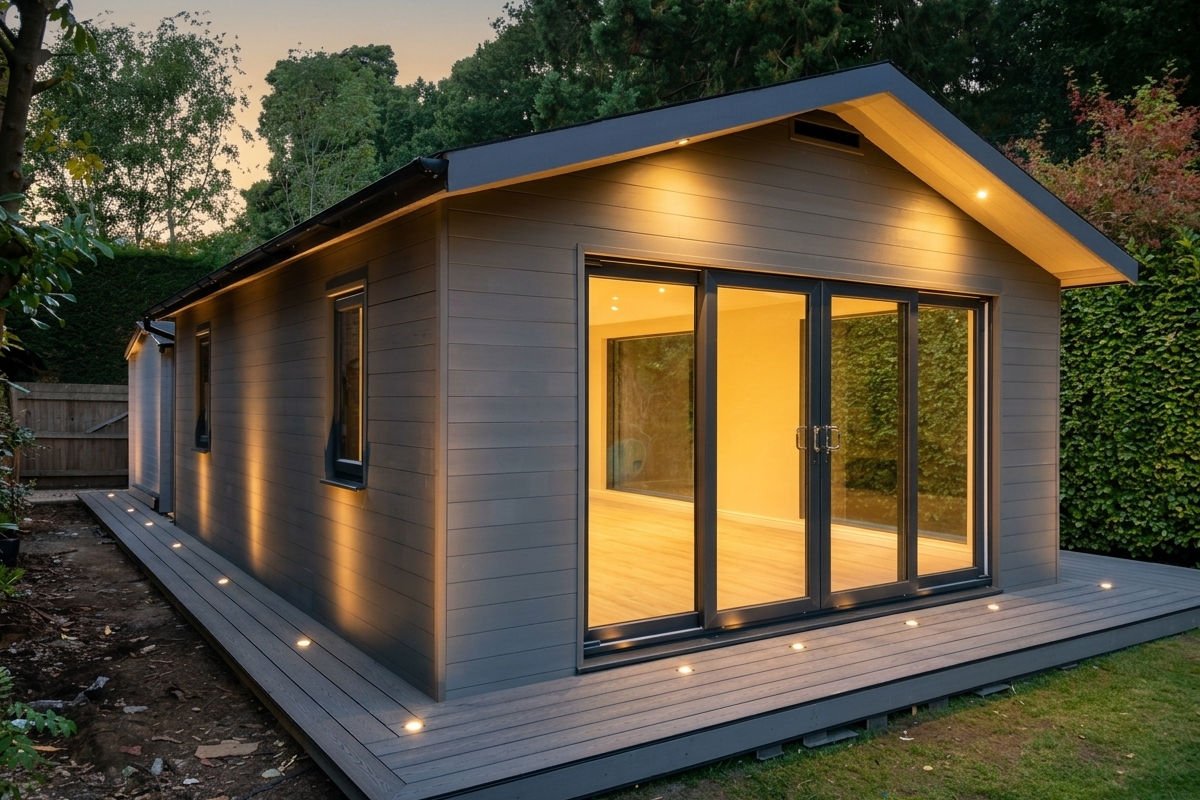
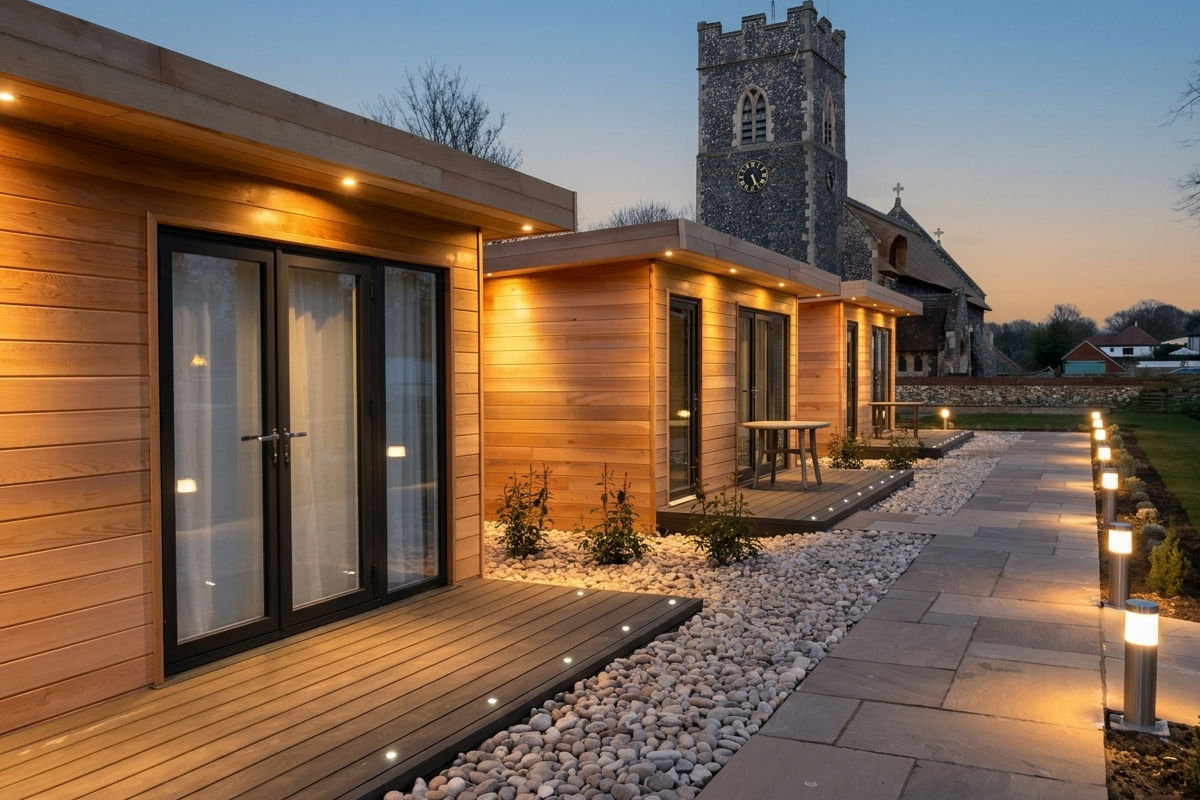
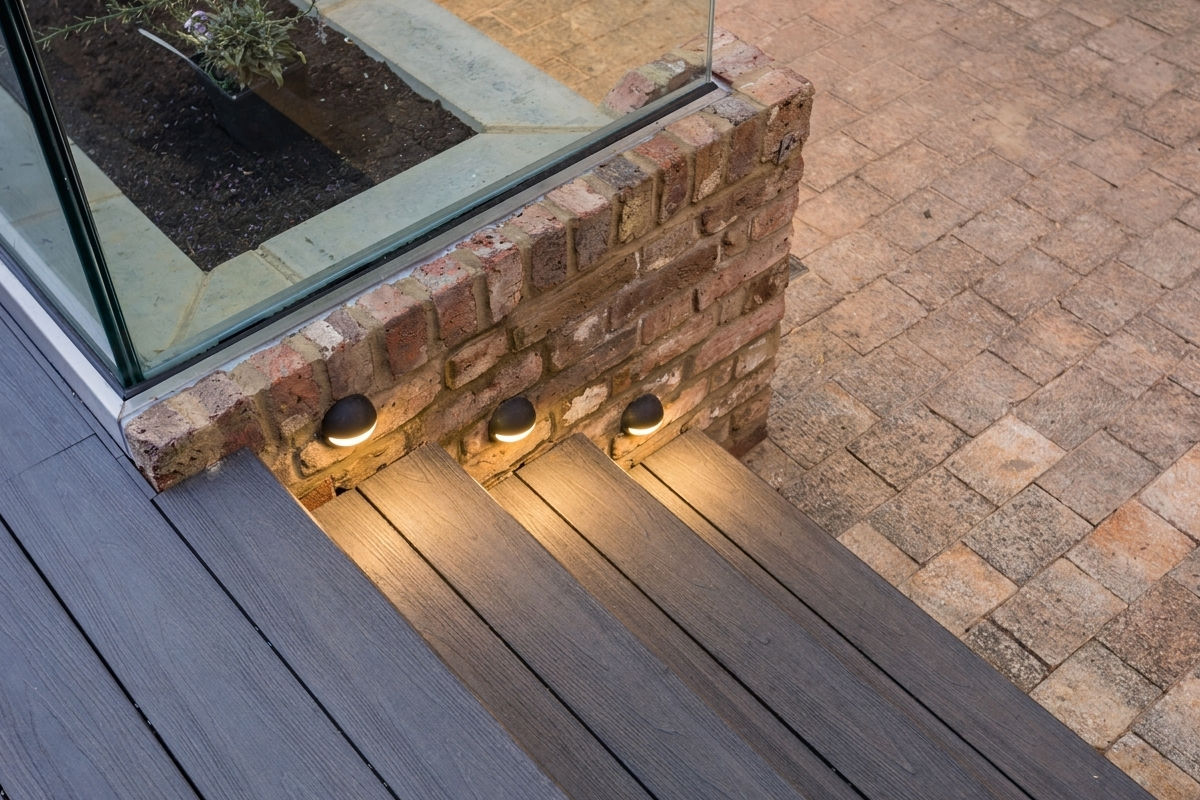
Lighting is best planned before boards go down, since recessed deck lights, riser/step lights and post-cap lights on balustrades all need cabling routed through the joist frame.
Low-level lighting along step edges and level changes is a safety feature as much as a design one, marking changes in level after dark. Up-lighting aimed into surrounding planting or a feature tree adds depth to the garden at night without over-lighting the deck surface itself.
Warm white LEDs (around 2700–3000K) generally suit composite decking better than cool white, as they complement both light and dark board tones and avoid making the garden feel clinical. Keep fittings low-voltage and rated for outdoor/damp locations, and have an electrician certify any hardwired garden lighting circuit.
How can pergolas, shade structures and outdoor kitchens be built into a decking design?
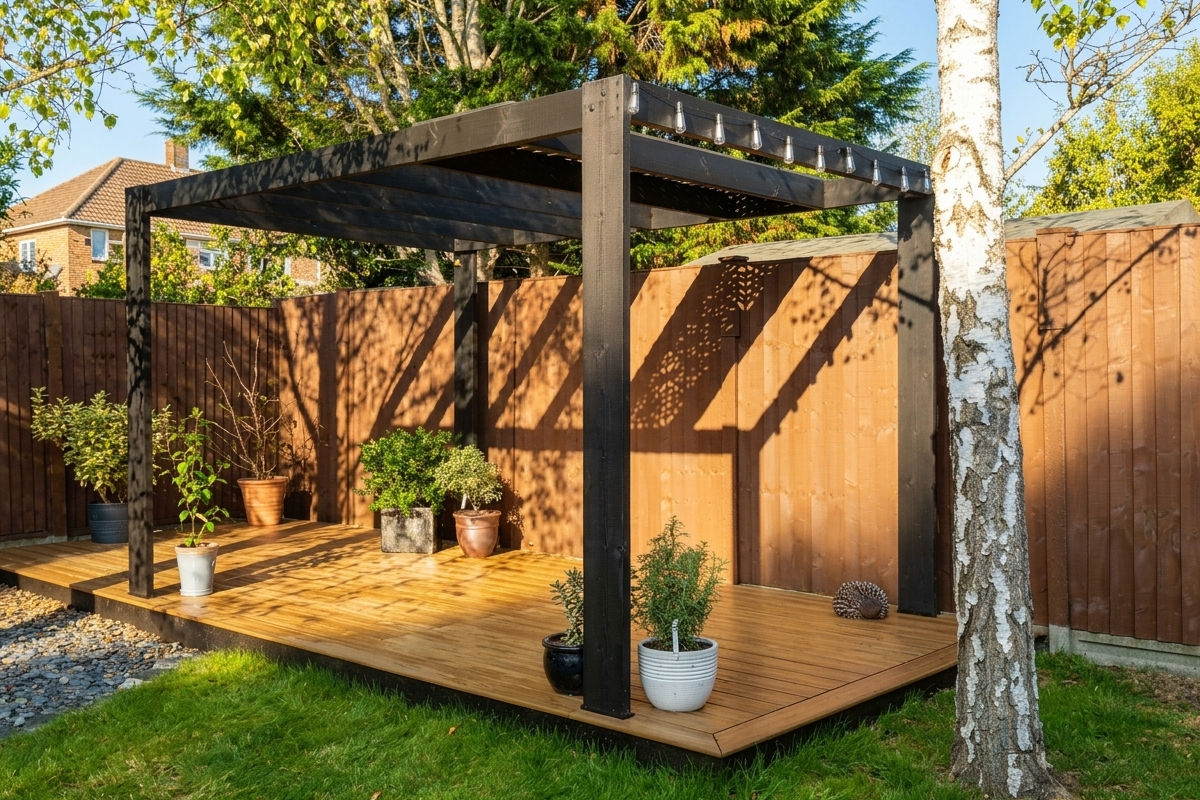
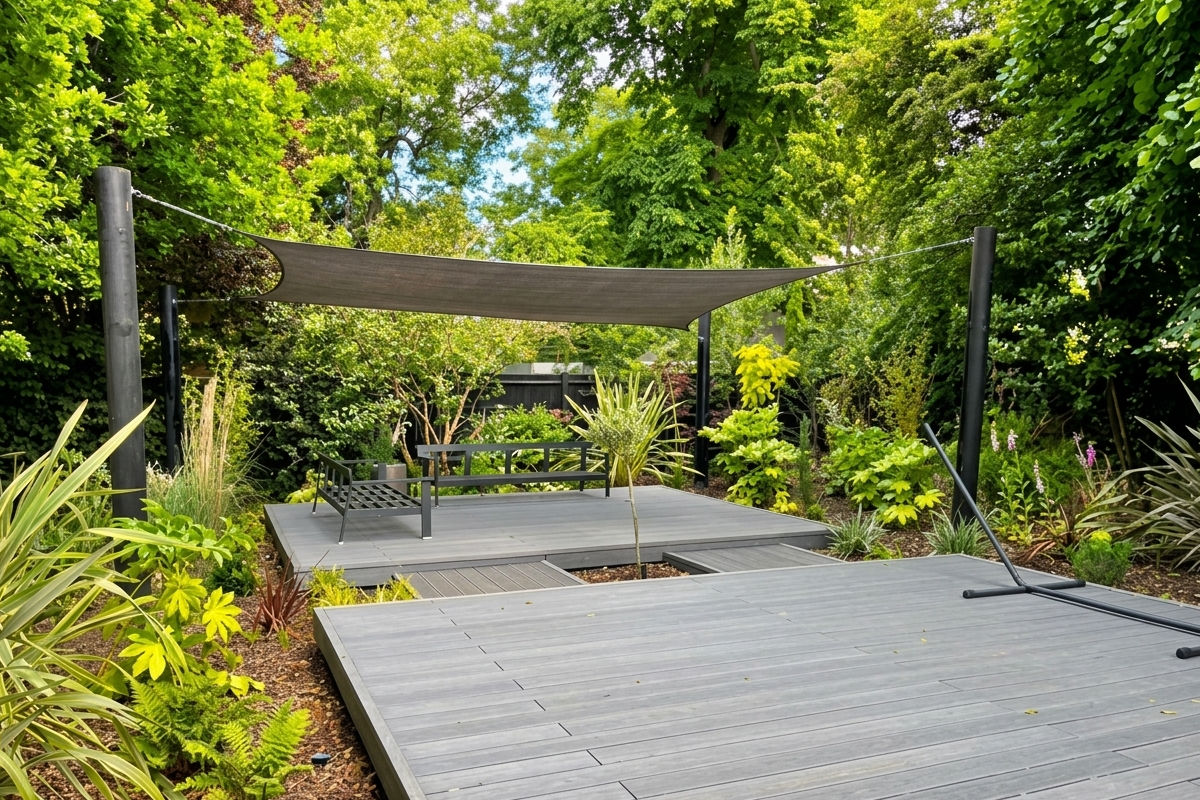
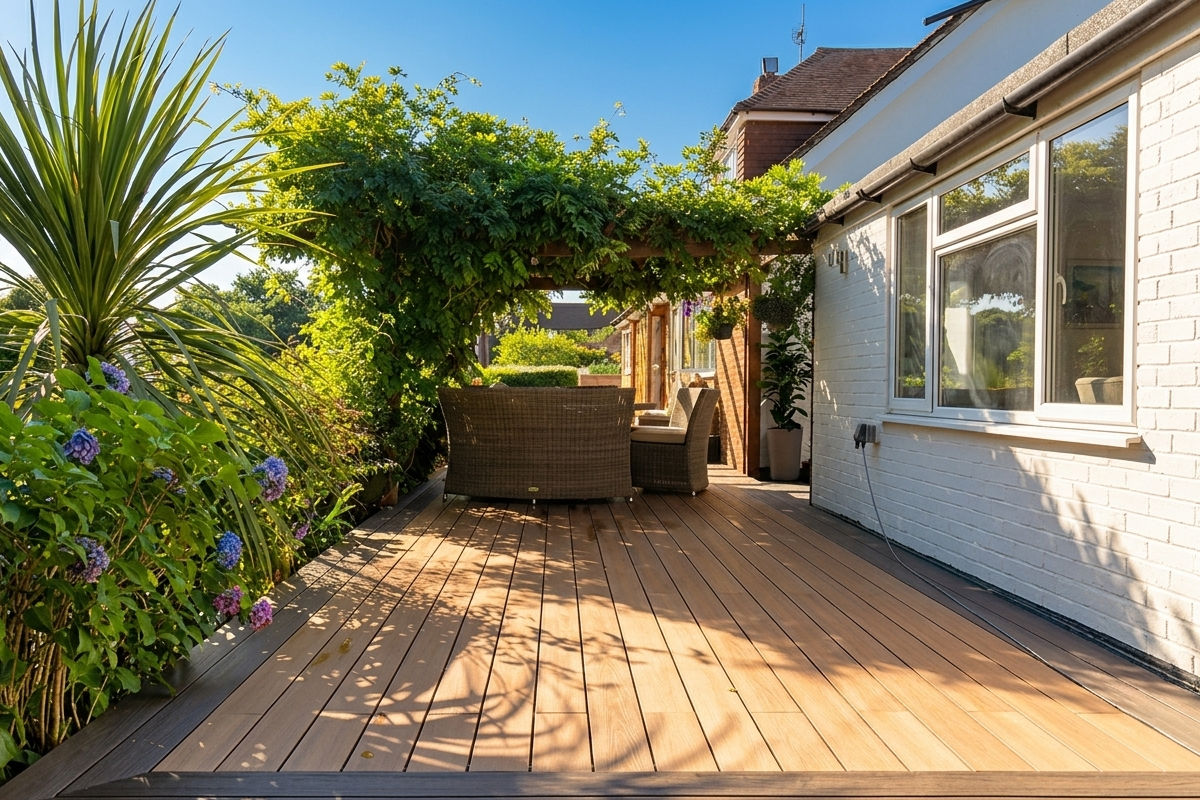
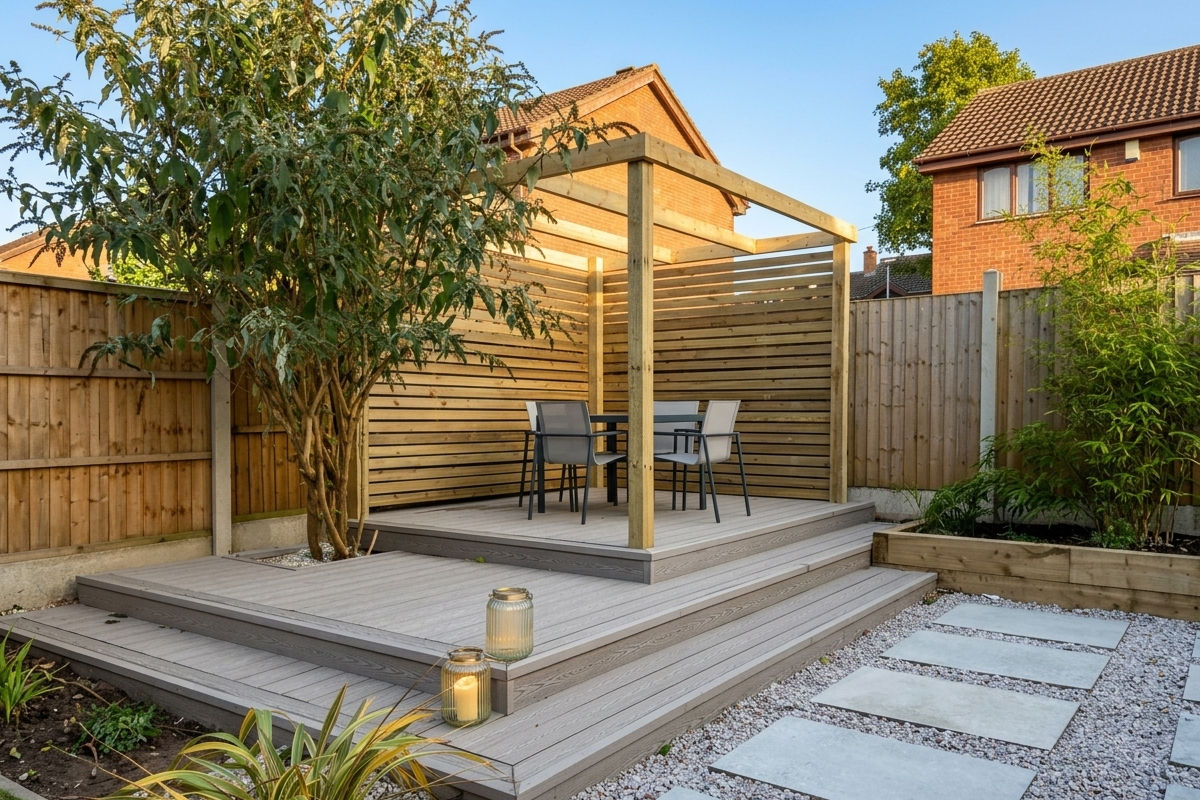
Pergolas, shade sails and outdoor kitchen units are a common addition to a composite deck and they’re worth planning for at the same stage as the board layout, not bolted on afterwards.
A pergola’s upright posts need their own structural fixing down to solid ground or a reinforced section of the joist frame, much like a hot tub bay, so their positions should be decided before boards are cut and laid rather than worked around later.
The same logic applies to a built-in outdoor kitchen unit or bar: deciding its footprint early lets you route any gas, water or electrical supply through the joist void while it’s still open, rather than lifting finished boards afterwards.
Design-wise, a pergola or shade structure over part of a deck is a natural way to define a “zone” without a full level change, similar to how colour-blocking or a border works elsewhere in this guide. The shaded, furnished area under it reads as a distinct outdoor room against the open, sun-exposed part of the deck.
Around an outdoor kitchen or barbecue area specifically, a capped composite board copes better with grease, heat and heavier cleaning than an uncapped one, and a darker colour or contrasting border around the cooking zone helps disguise the inevitable marks that heavy use brings, in the same way a picture-frame border hides cut ends elsewhere on the deck.
How do balustrades fit into a composite decking design?
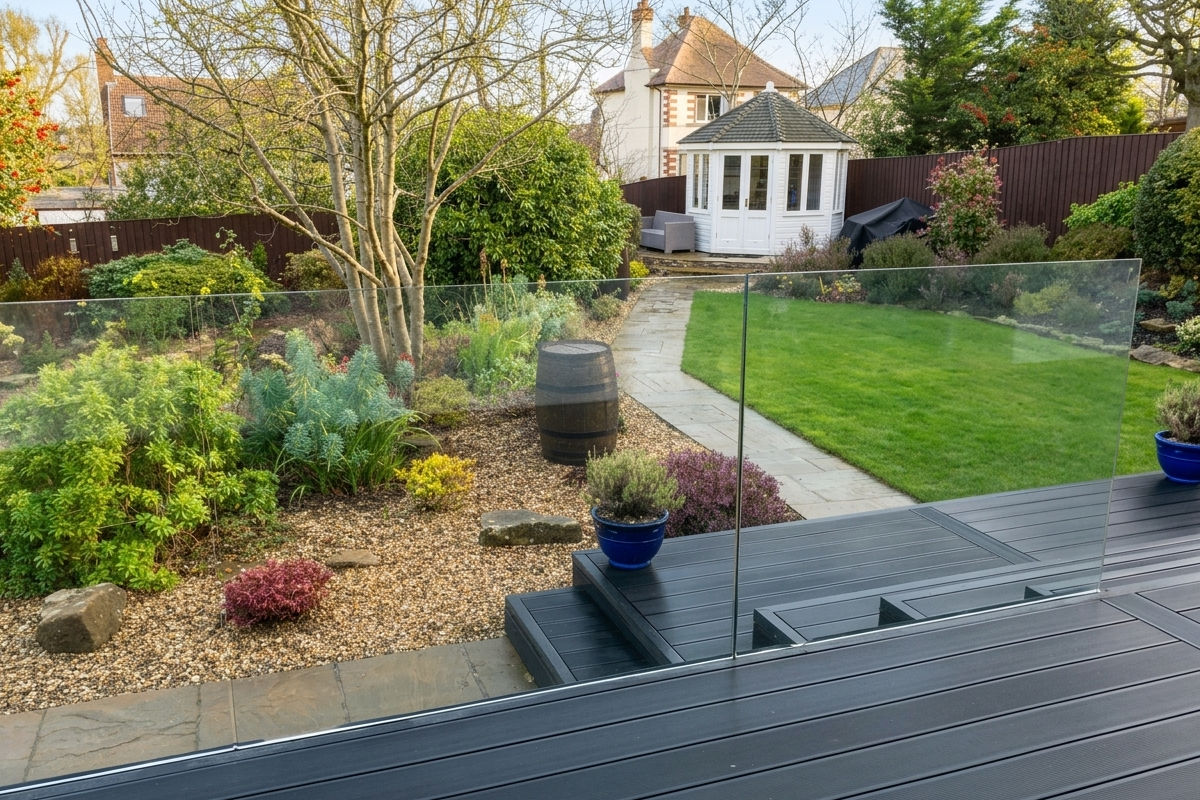
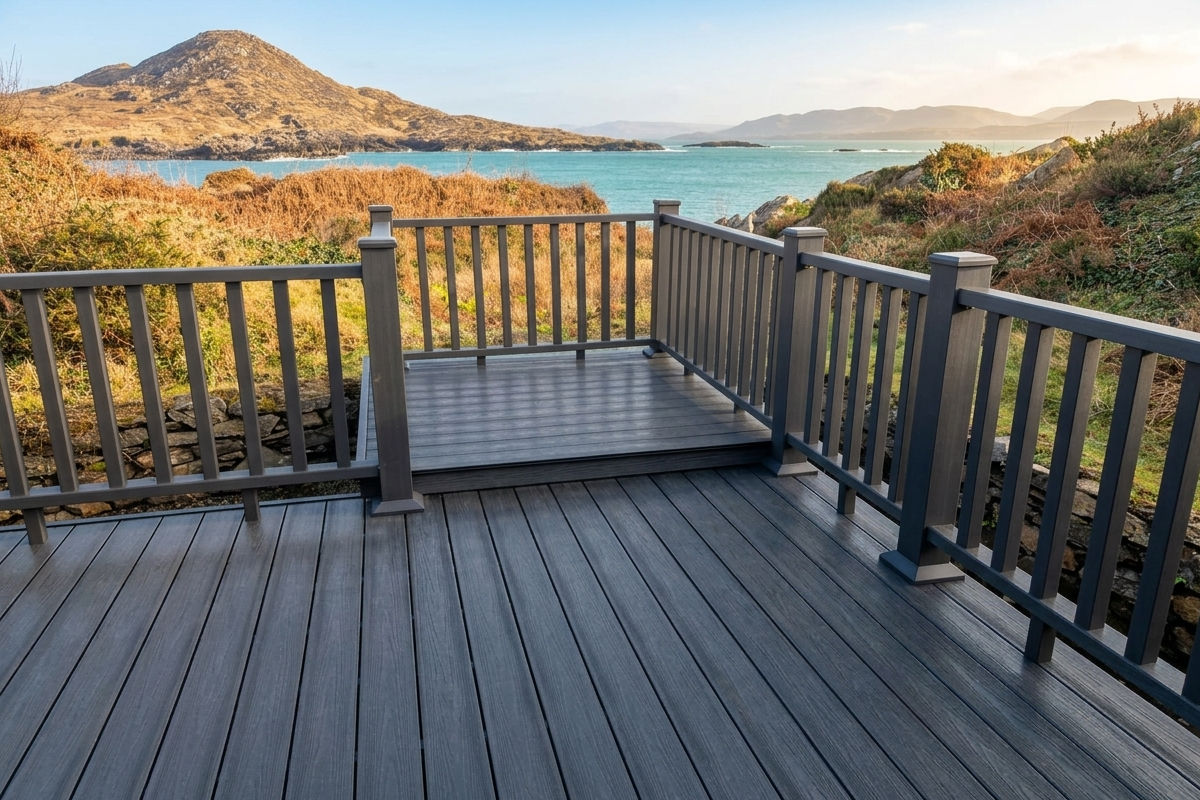
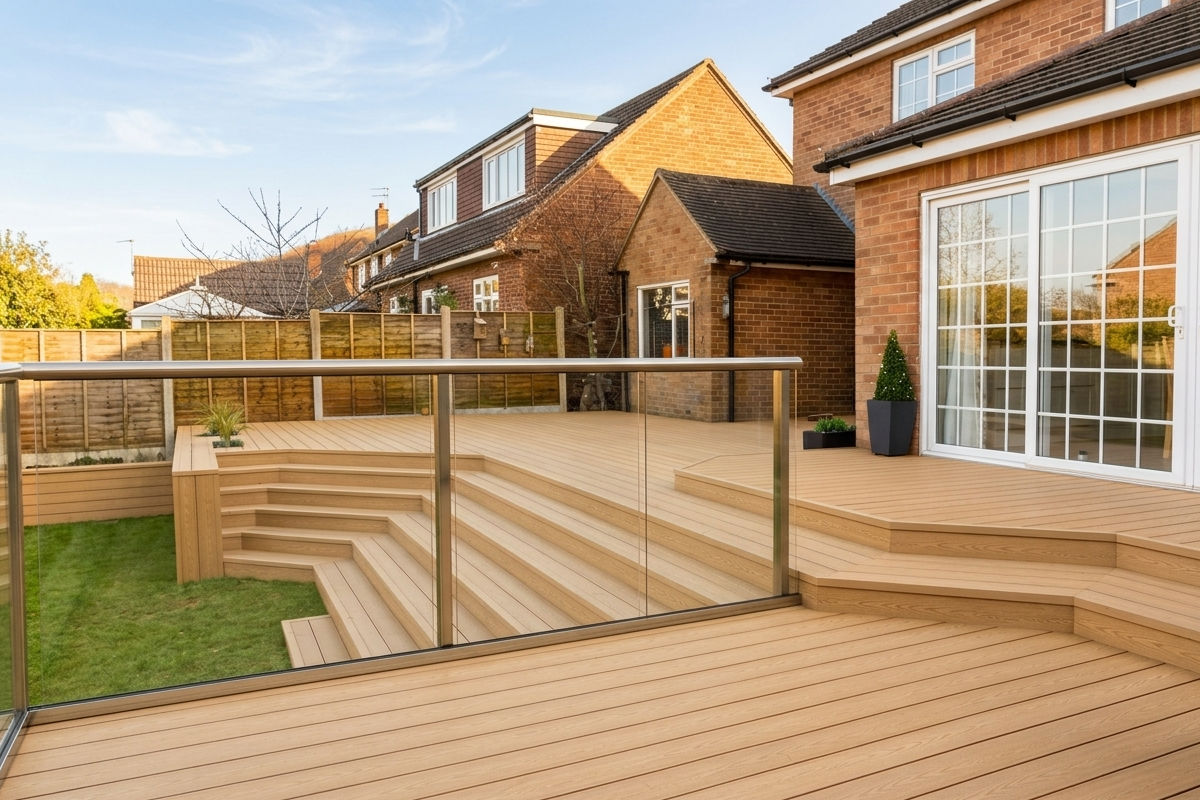
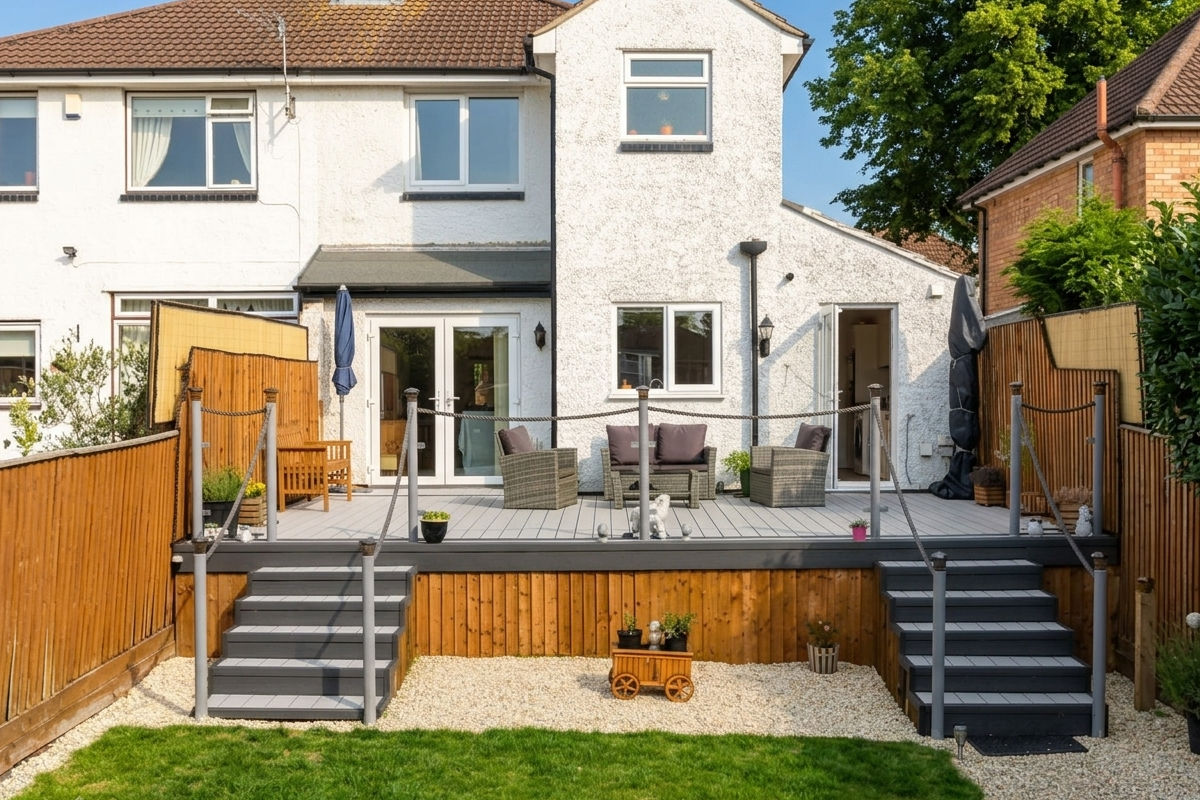
Where a deck is raised, on a balcony, or simply needs a boundary for safety, the balustrade is as much a design decision as a safety one, it’s often the single most visible vertical element on an otherwise flat deck.
EnviroBuild’s own decking balustrade guidance covers two broad system types: frameless glass balustrades, which give an unobstructed, minimalist view with no visible posts or rails, and modular systems, which allow more mixing of materials and styles across a longer run.
With glass, there’s a genuine design choice to make: tinted glass adds a degree of privacy while still letting light through, low-iron glass gives the clearest, least green-tinted view for a garden or view worth showing off, and privacy glass balances the two.
A glass balustrade tends to suit a modern, minimalist deck design, it keeps sightlines to a garden or view open and pairs naturally with the grey/anthracite colour palette this guide covers elsewhere, while a solid composite or timber-topped balustrade reads as warmer and more traditional, and can be colour-matched to the deck boards for a more unified look.
Whichever style you choose, any balustrade needs to meet local building regulations for height and load, which vary by deck height and use, so check current requirements with your installer or Building Control rather than assuming a standard domestic height applies to every project.
How can planting and screening be combined with decking?
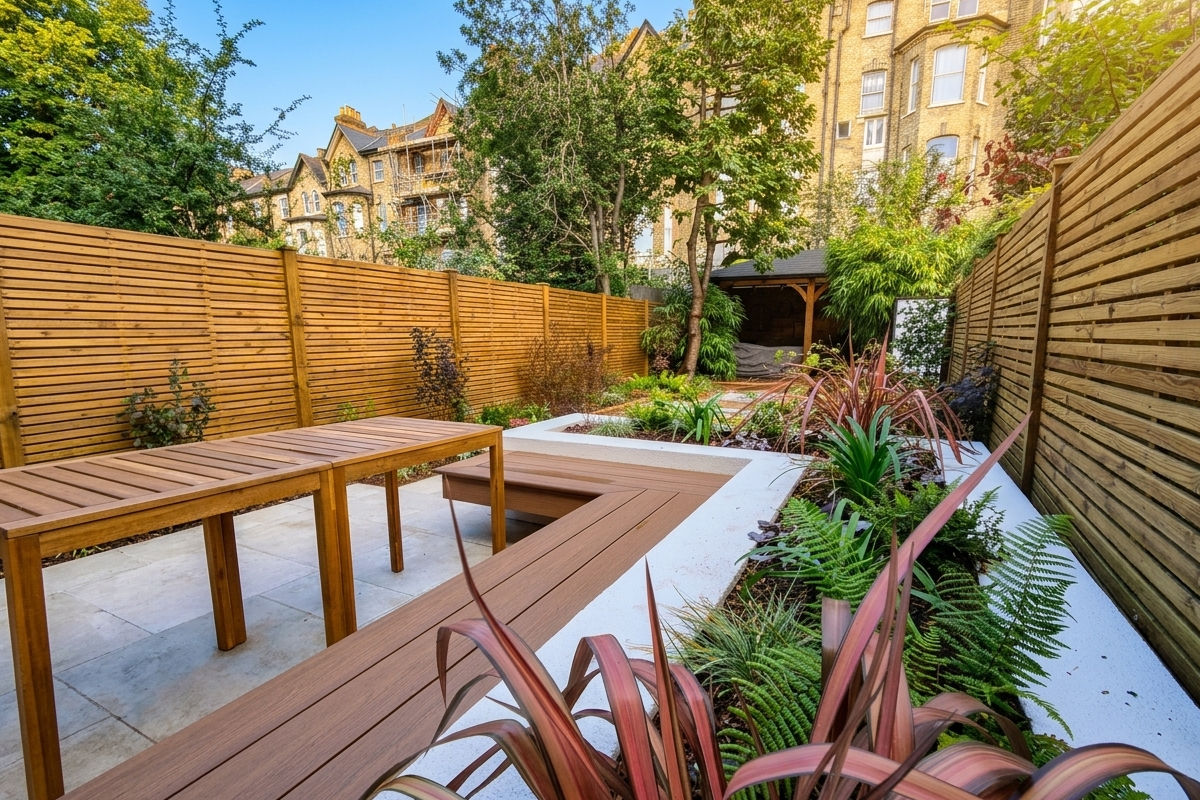
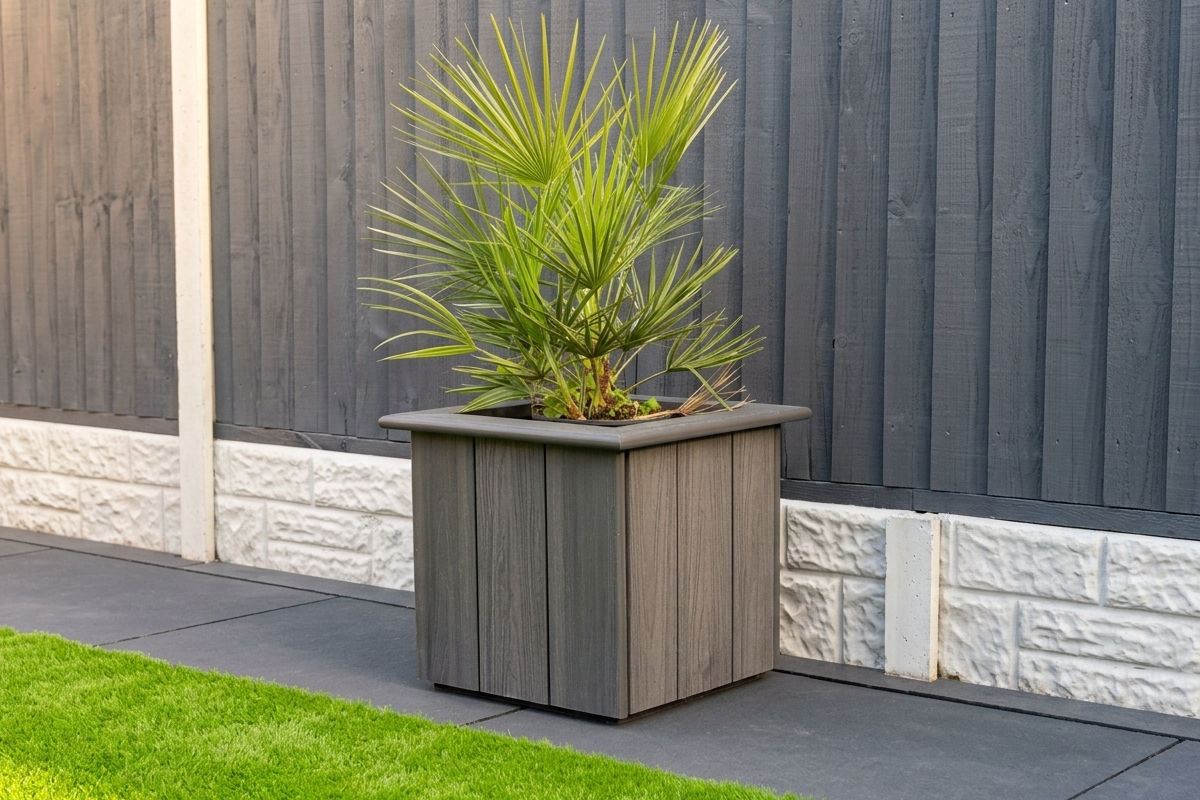
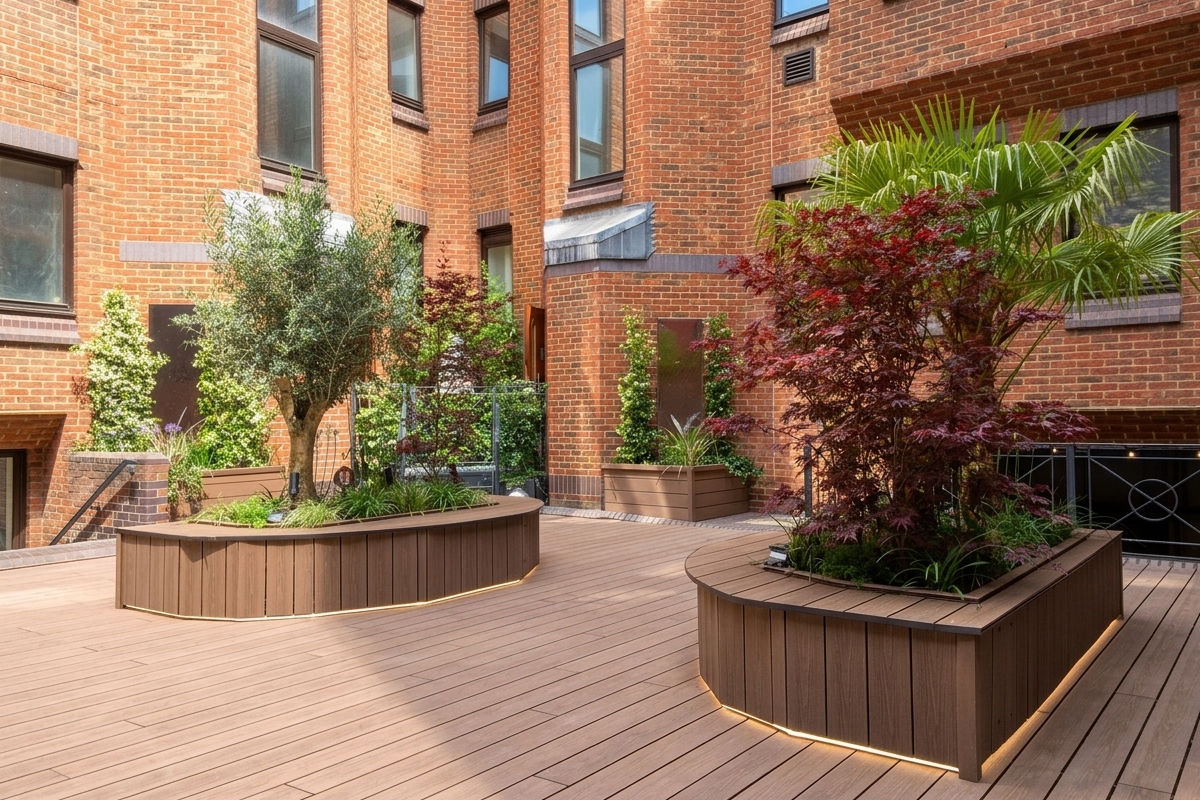
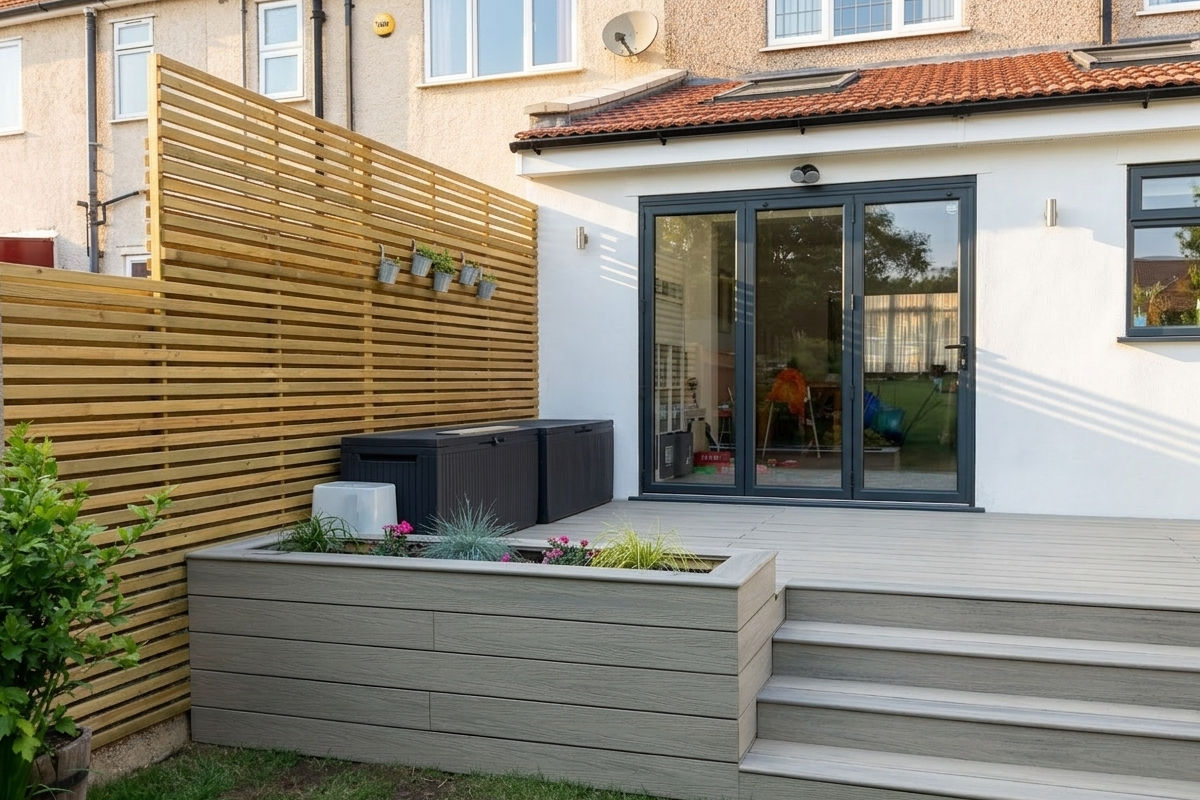
Built-in planters, either boxed in composite cladding to match the deck, or free-standing along the border, soften the hard edges of a deck and are one of the simplest ways to add colour and texture without changing the board layout. Raised planters at seating height also double as informal division between zones on a multi-level deck.
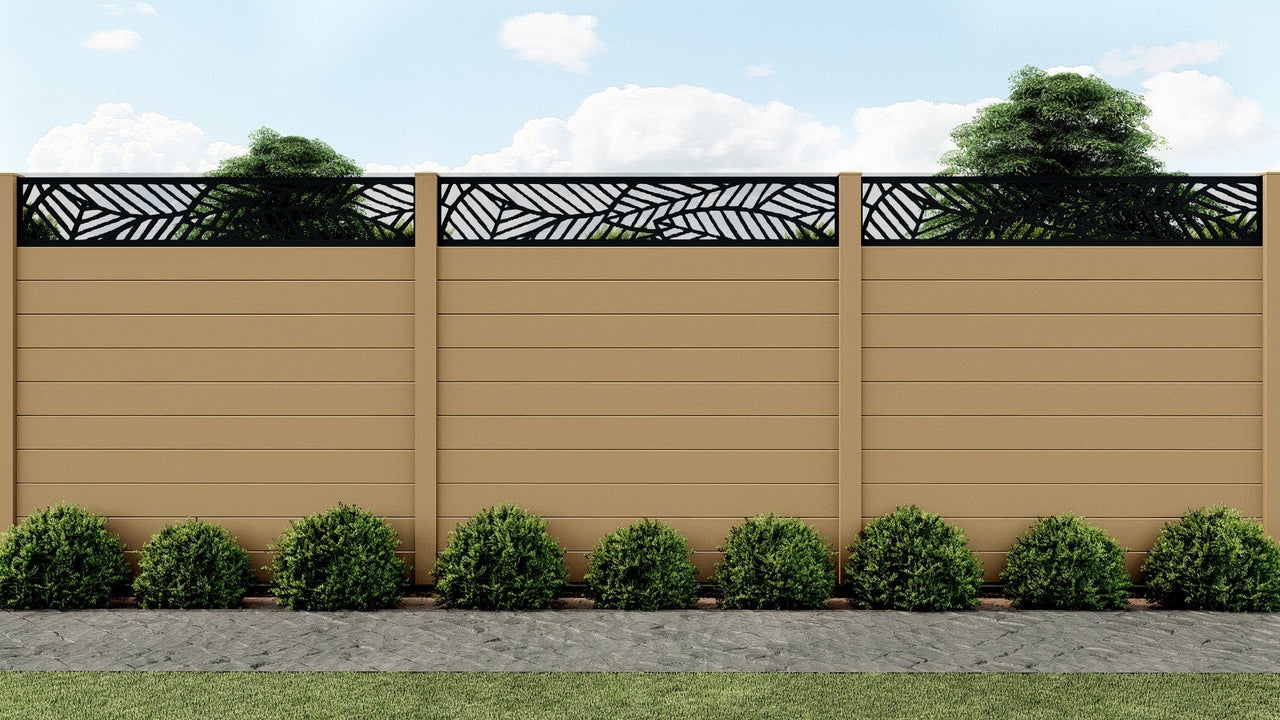
For privacy, slatted composite screening or trellis panels planted with climbers achieve a similar effect to a solid fence while still allowing light and air through, which usually reads as less imposing in a small garden. Matching the screening colour to the decking (or to a cladding/fencing accent) keeps the overall look cohesive rather than adding a third competing material.
What design ideas work for small gardens vs large gardens?
In a small garden, consistency does more work than pattern: a single board colour, one consistent direction, and a simple picture-frame border tend to make the space feel bigger than mixing multiple tones or patterns. Built-in bench seating with integrated storage or planters is a practical way to add function without eating into floor space, and a lighter board colour will generally make a shaded urban garden feel less enclosed.
Larger gardens have room to zone: multi-level decks, a mix of straight and diagonal or herringbone sections per zone, and wraparound or L-shaped layouts that follow the building’s footprint. With more square metreage to fill, a secondary colour or contrasting border becomes a useful way to break up scale rather than leaving one uniform expanse of decking.
How do I pair decking colour with cladding and fencing for a cohesive look?
The most reliable approach is to treat decking, cladding and fencing as one palette rather than three separate choices. A warm-toned deck (Oak, Walnut, Teak, Iroko) generally pairs well with matching warm-toned cladding or natural-look fencing, while a grey or charcoal deck (Stone, Slate, Granite) sits comfortably alongside grey render, anthracite-framed glazing, or black composite fencing. Keeping the same colour family across all three elements avoids the garden looking like it was finished in three separate stages.
Where you want contrast rather than matching tones, pair a light deck with dark cladding (or vice versa) and repeat one of the two colours in the fencing or screening so the palette still reads as intentional. As a working rule, limit an outdoor palette to two board/cladding tones plus one accent colour in furniture or planting.
A darker border is one of the most effective ways to mix colours deliberately rather than accidentally. Running a border of Walnut or Granite around the perimeter of a lighter tone, Silver Birch or Pearl White, for instance, does two jobs at once: it frames the deck the way a picture-frame border does structurally, and it draws a clean, deliberate line around the space that reads as designed rather than “two colours that happened to be laid together.” The same idea works in reverse, with a light border framing a darker main field, though the effect reads slightly less crisp since a light border sits less naturally at the edge next to grass or planting than a dark one does.
How do you create an indoor-outdoor look with composite decking?
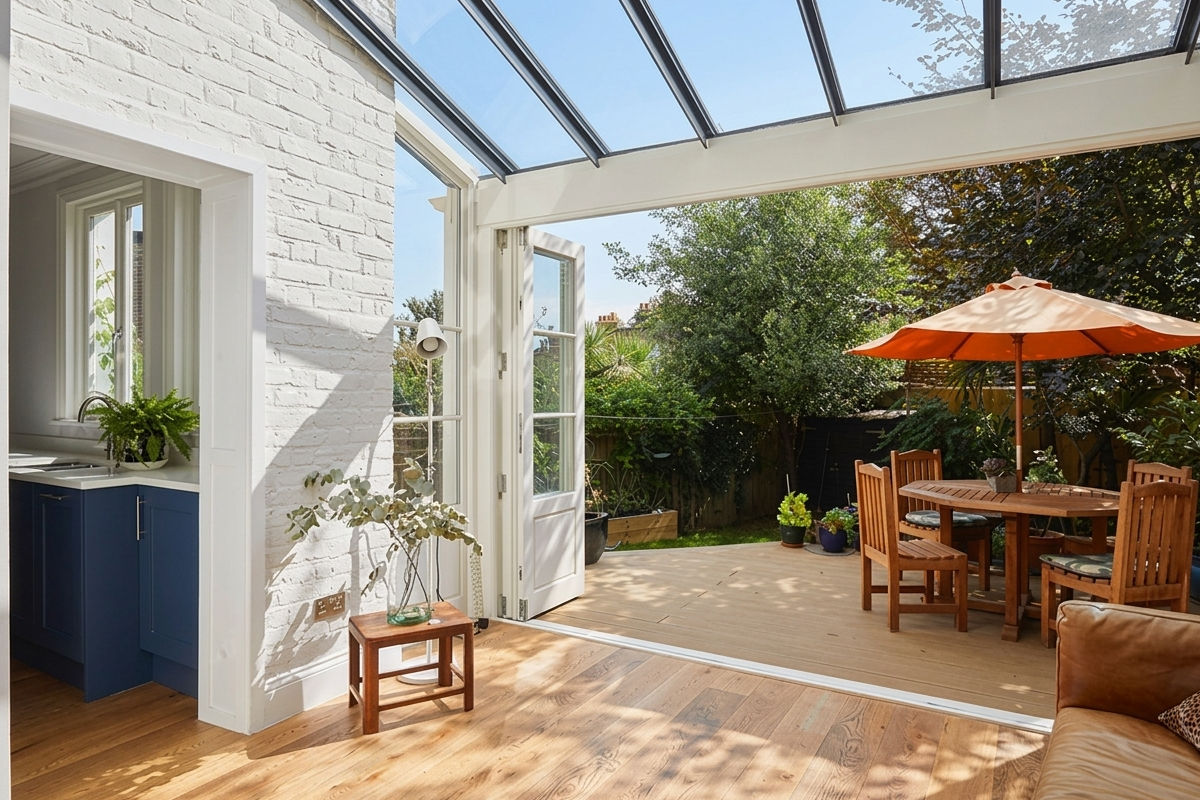
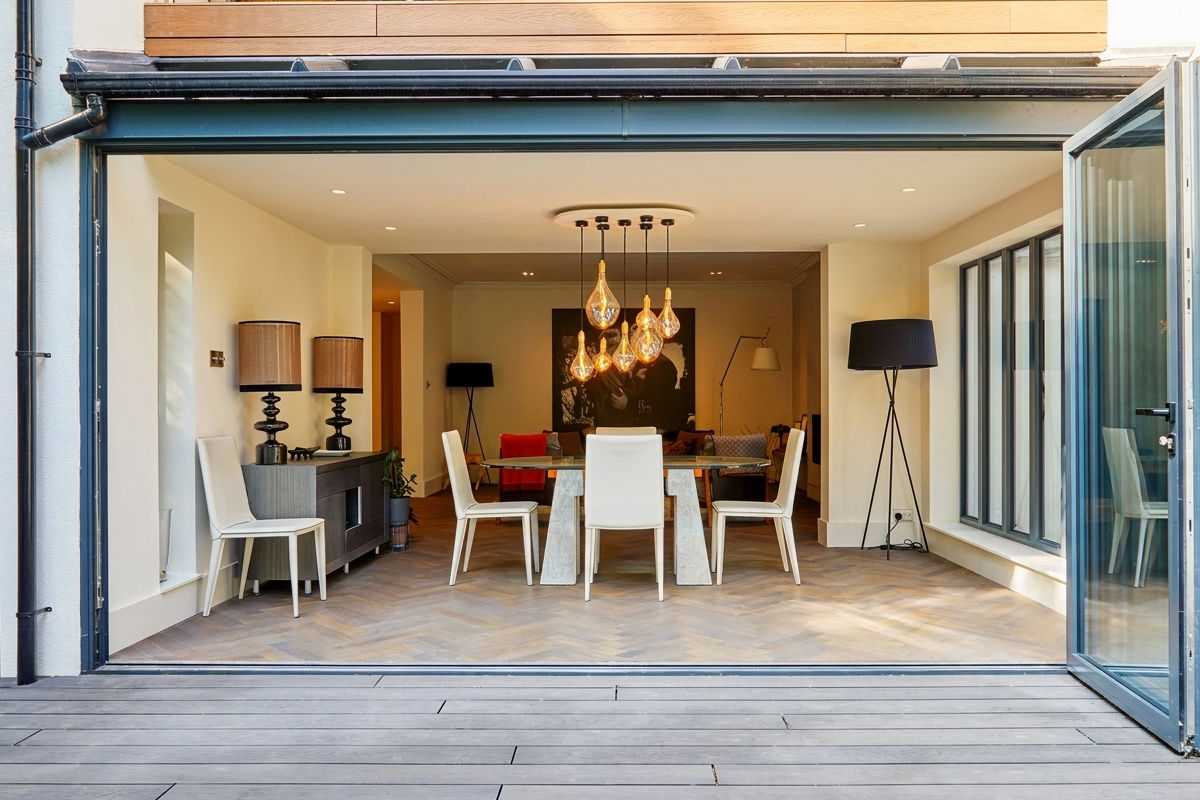
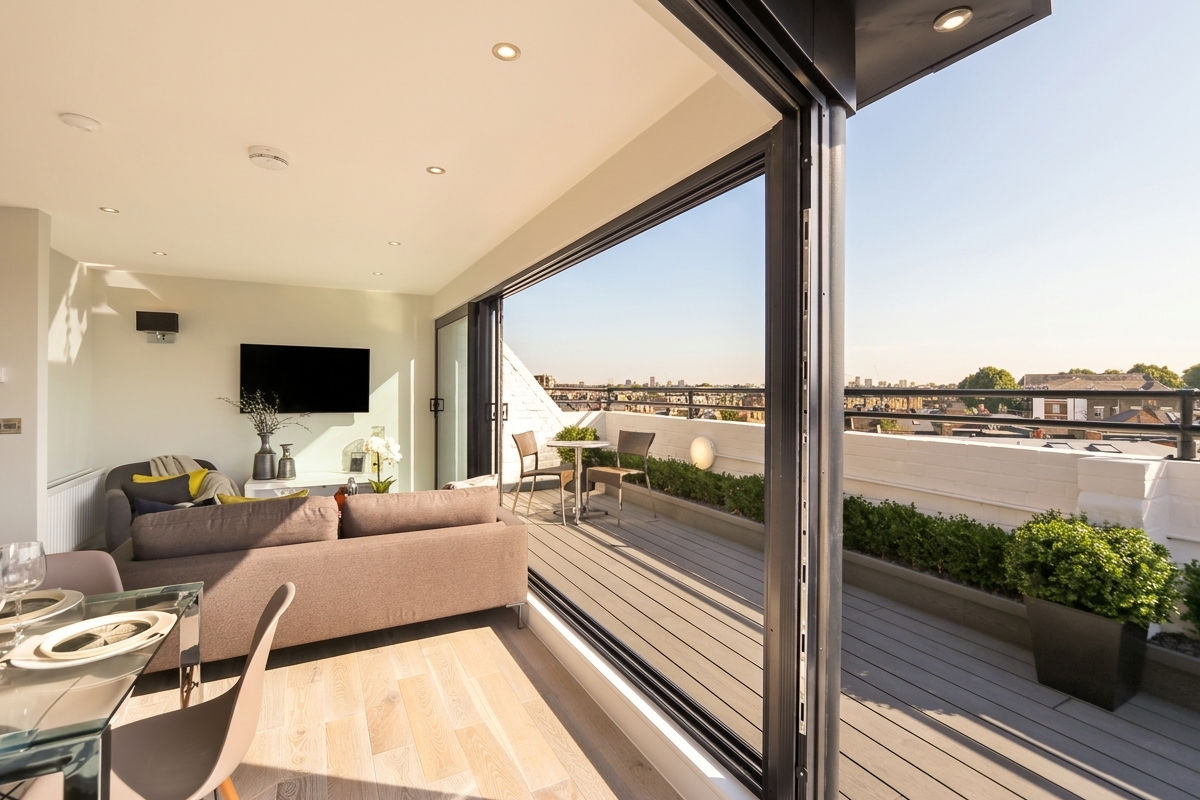
Matching or closely coordinating a composite deck to the flooring just inside a set of bi-fold or sliding doors is one of the most effective ways to make a garden feel like an extension of the house rather than a separate space. This works best when three things line up: a level (or near-level) threshold between the internal floor and the deck surface, so there’s no visible step to break the sightline; a similar tone between the deck boards and the interior flooring (a warm oak-effect interior floor paired with an Oak or Walnut composite deck, or a pale interior tile paired with Silver Birch or Pearl White decking); and a consistent board direction that continues the visual line of the interior floor out through the doors rather than running across it.
Where an exact colour match isn’t available or practical, keeping the same warm/cool colour temperature between inside and outside (rather than matching the exact shade) usually reads as cohesive enough, especially once furniture, planting and lighting are in place. Continuing the same or a complementary cladding colour up the wall either side of the doors reinforces the effect further, tying the deck, threshold and house exterior into one continuous material palette rather than three separate decisions.
Design element
Practical options
Key consideration
Colour/finish
Light (Silver Birch, Marble, Pearl White) vs dark (Granite, Slate, Walnut, Iroko)
Dark tones absorb more heat and show dust/pollen; light tones can make a space appear larger, but show dirt faster
Layout pattern
Straight-laid, diagonal (45°), herringbone/chevron, picture-frame border
Diagonal and herringbone need closer joist centres than straight layouts
Joist centres
300-400mm for straight-laid boards; 250-300mm for diagonal layouts
Tighter spacing compensates for the longer effective span across each joist
Zoning
Multi-level decks, colour-blocked zones, contrasting border strips
Level changes of 2–3 steps (approx. 300–450mm rise) appear as distinct “rooms” without needing a full balustrade
Lighting
Recessed deck lights, plinth/riser lights, post-cap lights, up-lighting into planting
Route cabling during joist installation, not after boards are fixed
Small gardens
Single-tone straight layout, picture-frame border, built-in bench/planter combos
Fewer colours and a consistent board direction make a small space feel larger
Large gardens
Multi-level zoning, mixed patterns per zone, wraparound or L-shaped decks
Break up scale with a colour or direction change at each zone boundary
Curved decking
Board cut to a curve (not bent), curved joist layout up to 45°, flexible fascia around the edge
Plan the curved joist layout before cutting any boards
Hot tub zones
Colour/level change marking the tub bay, capped boards for splash resistance
Structural design (reinforced joists, concrete pads) is separate
Pergolas/outdoor kitchens
Timber or aluminium frame choice, depends on budget and maintenance
Plan post positions and service routing (gas/water/electrics) before boards are laid
Balustrades
Frameless glass, modular railing systems, tinted/low-iron/privacy glass
Height and load must meet current building regulations — confirm with Building Control
Colour mixing
Dark border (e.g. Walnut/Granite) around a lighter field, or vice versa
Reads as designed rather than accidental; limit to two tones plus one accent
Indoor-outdoor look
Level threshold, matching/coordinating tone with interior flooring, continuous board direction
Match colour temperature (warm/cool) if an exact shade match isn’t available
Note: this is an editorial/design topic rather than a technical standards document, so most sources above are industry and manufacturer guidance rather than regulatory standards. The joist spacing figures (300mm straight-laid, ~250mm diagonal) are the one load-bearing technical claim in this article and are cross-checked against two independent UK sources plus EnviroBuild’s own installation guidance.
Decking Design FAQs
Most single-storey decks under 300mm high, attached to a house, don’t need planning permission in England, but taller decks, decks in conservation areas, or those near a boundary can require permission. Check with your local planning authority before building a raised or multi-level deck.
Yes, dual-tone designs (a border in one colour with the main field in another, or a different colour per zone on a multi-level deck) are a common way to add definition without changing material. Stick to two main tones plus one accent to avoid the design looking disjointed.
Generally yes, because angled cuts create more offcut waste and the joist frame needs tighter centres (around 250mm versus 300mm for straight layouts), which means more joists per square metre.
Lighter tones such as Silver Birch, Marble or Pearl White reflect more available light and tend to make a small or shaded space feel more open than dark tones like Granite or Slate.
Capped boards (EnviroBuild’s Frontier range) resist staining and fading better than uncapped boards, but any composite deck benefits from a periodic sweep and occasional wash with a composite-safe cleaner to remove pollen, algae and general garden debris.
Low-voltage deck lighting kits can often be self-installed, but any hardwired connection back to the mains supply should be installed and certified by a qualified electrician in line with UK wiring regulations.
No, composite boards are cut to a curved shape with a circular saw rather than bent. The curve comes from a curved joist layout underneath and a flexible fascia board around the edge, which does bend around the curve once gently pressured into place and screwed.
It needs reinforcement. A filled hot tub with occupants can weigh 1,500–2,500kg concentrated over a small footprint, well beyond what standard 400mm-centre decking joists are designed to carry, so the tub zone needs tighter joist spacing and its own foundation, ideally confirmed by a structural engineer.
No, pergolas, shade structures and outdoor kitchen units aren’t EnviroBuild products, so any guidance on them in this article is general design advice rather than a specific product recommendation. It’s still worth planning their position and any service routing before the deck boards go down.
EnviroBuild’s own decking balustrade guidance covers frameless glass balustrades (tinted, low-iron or privacy glass) for an unobstructed, minimalist look, and modular systems that allow more mixing of materials and styles. Whatever style you pick, height and load need to meet current building regulations, which vary by deck height and use.