


Composite Decking Installation: Step-by-Step Guide
Installing composite decking is a straightforward process when done correctly. Engineered for precision, strength and long-term stability, composite boards are designed to be easy to work with, delivering a premium, low-maintenance deck that lasts for decades.

Author Name
Chief Writer
Thu, 28 Jul 2026
This composite decking installation guide explains how to plan, build and finish your deck for professional-quality results.
Why Choose Composite Decking?
Before starting, it’s worth understanding why composite decking has become the modern alternative to timber:
Durable and low maintenance, no staining, sanding or sealing required.
Weather-resistant, won’t rot, splinter or warp.
Slip-resistant and fade-protected, ideal for year-round outdoor use.
Sustainable, made from recycled wood fibres and plastics.
Easy to install, designed with grooved edges for hidden fasteners.
With proper preparation and installation, composite decking offers a structurally sound, beautiful finish that stands up to the UK’s changing climate.
Recommended Tools
Standard woodworking tools can be used when working with composite decking:
Circular Saw
Power Mitre Saw for efficiency and bevelled edges
Hand Drill: 3 mm and countersink drill bits (can use all-in-one smart bit)
Impact Driver: use T15 secure drill bit supplied in all Hyperion® hidden fastening packs and use low technique setting
Jig Saw
Tape Measure
Carpentry Square
Spirit Level
Chalk Line
Please ensure your wellbeing and employ the use of Safety Glasses and relevant Personal Protection Equipment (PPE) when installing EnviroBuild products.
If you are unsure on how to use any tools, please consult the tool manufacturer’s user manual.
Material Storage
Materials should always be covered until it is ready to be installed to maintain a clean surface. If stored outside use a non-translucent material.
All products should be stored flat and level, supported above the ground at 500 mm intervals.
Battens used to separate and support stored material should be spaced no more than 500 mm apart, to ensure the boards don’t bow.
Stack units with banding and bottom supports aligned.
Pallets of decking boards should not be stacked more than 4 pallets (3 m) in height.
Material Handling
EnviroBuild Decking materials should be handled with care when unloading.
When removing boards from a unit, lift the boards and set them down. Do not slide boards against each other when moving them.
Carry decking boards on the edges for better support.
During construction, do not slide or drag any equipment across the boards.
The surface of the boards should be kept free of construction material and waste to prevent damage.
Each 4 m decking board can weigh between 9.5 kg and 14.5 kg, so please ensure they are handled safely. We recommend that two people handle the boards during transportation.
How to Install Composite Decking
Prior to installation, your boards must be acclimated for at least 72 hours on site. When the boards arrive, cover them with a ground sheet.
Step 1 - Installing starter fasteners
The first board must be fixed with starter fasteners that will clip to the side groove of the board:
Align the starter fasteners along the first joist, every 300 mm along the joist length.
Securely screw each fastener to the joist.
Step 2 - Laying the first deck board
Simply slide the first decking board so that it clips to the starter fasteners.
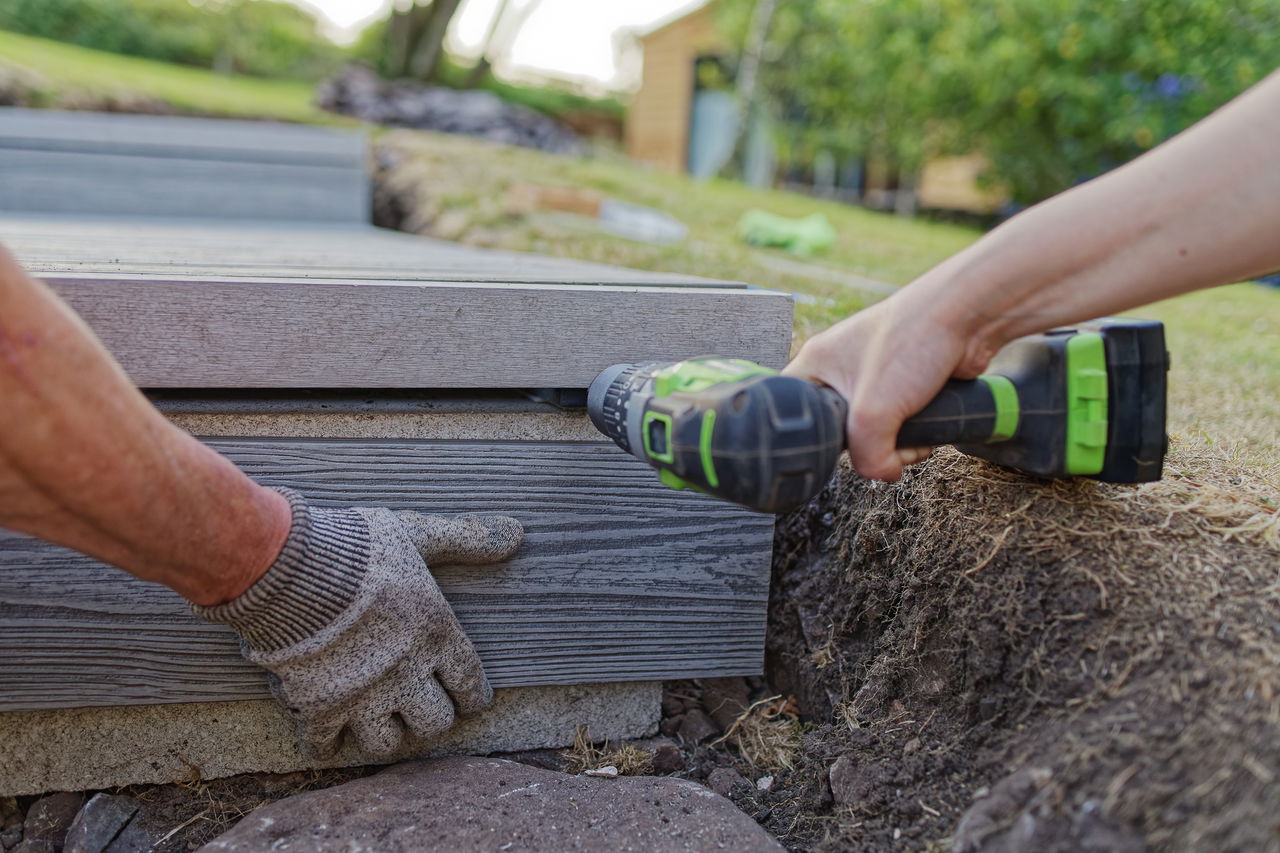
Step 3 - Securing the board
To fix adjacent boards, place hidden fasteners (3 mm or 6 mm) into the grooved edge of the fixed board and insert the secure screw into the hidden fasteners.
Screw holes should be lined up with joist centres.
Ensure the counter sunk section of the hidden secure fastener is facing up.
Install 1 hidden fastener on each joist.
Always use hidden fasteners at board ends.
Use 1 fastener per board end at butt joints (never share a fastener across 2 board ends)
For 6 mm hidden fasteners, lightly screw in place, do not tighten at this point.
For 3 mm hidden fasteners, fully tighten the screw at this point.
Step 4 - Laying the next board
Place the next board into position against the hidden fasteners.
Slightly raise the outer edge of the board being installed and slide it onto the hidden fastener.
Ensure the decking board edge contacts the spacer tab.
Lightly tap into position if required.
Step 5 - Tightening the fasteners
Fully tighten the hidden fasteners between the last boards installed.
Apply sideward pressure on the decking to ensure that the tabs are hard up against the inside of the decking groove.
Step 6 - Repeat for following boards
Repeat steps 3 - 5 until you have reached the last two boards. The last boards can be fixed in one of two ways depending on the fasteners being used.
This will be different if you are planning to use edge boards or a picture frame border.
Step 7 - Installing the final two deck boards
6mm Hidden Fastener Method
Knowing the width of the last 2 boards including the 6mm spacing gap between them, mark on the last joist where the outer edge of the final board would lie.
Using these marks, install the hidden starter fasteners securely in place for the outer edge of the last board.
Clip the last decking board to these starter fasteners.
With the final board in place, insert the penultimate board.
With the 2 boards in place and at least a 6 mm gap between them, slide down the required number of 6 mm hidden fasteners
Secure the fasteners to the joists in between the last boards
Please note: This option will only work with the 6mm hidden fasteners. If you are planning on using the 3 mm fasteners, you must use the below method.
3mm Hidden Fastener Method
With the last board in place after securing all other boards, screw through the bottom edge of the last board at an angle, securing it to the joist at 300 mm intervals.
Pre-drill pilot holes in the deck boards 2 mm wider than the width as the screw shank.
Do not over drive screws into the deck boards to avoid the material splitting.