
Composite Fencing Installation: Step-by-Step Guide
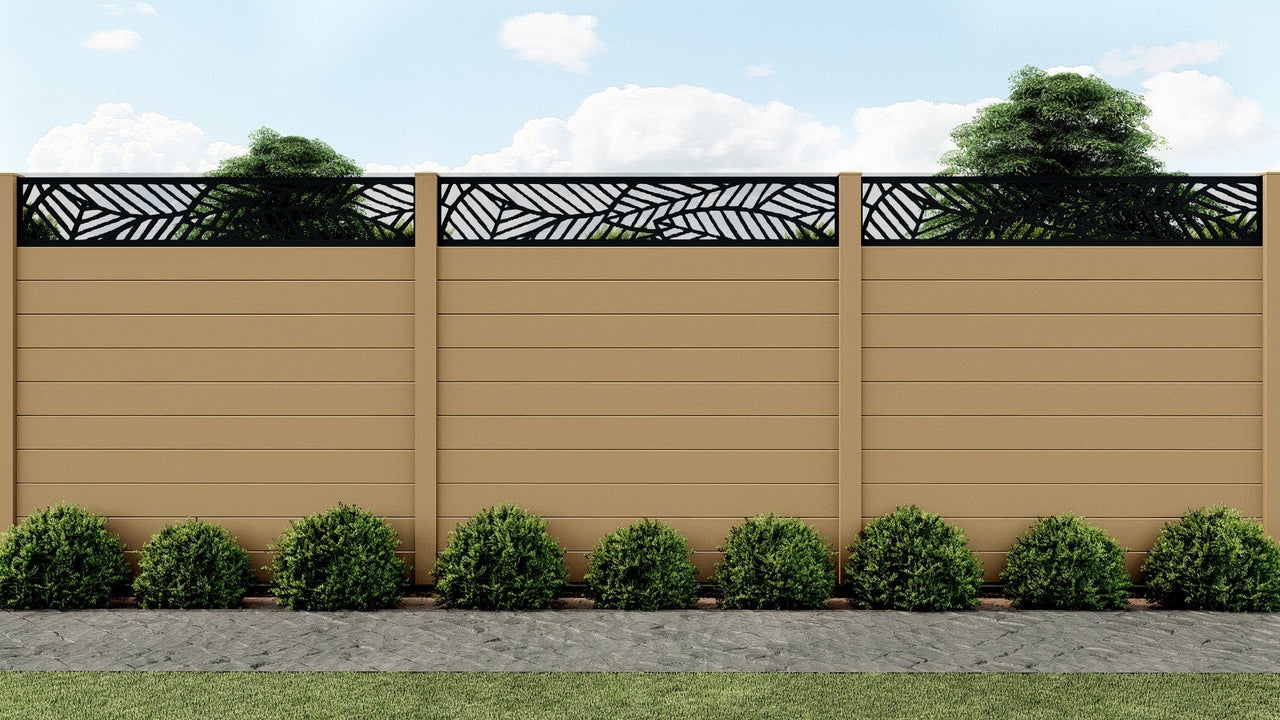
Composite fencing is designed to combine the natural look of timber with the strength and durability of modern materials, and it’s remarkably easy to install. Whether you’re replacing an old timber fence or building a brand-new boundary, composite fencing offers a sleek, low-maintenance solution that’s built to last.

Author Name
Chief Writer
Thu, 28 Jul 2026
In this guide, we’ll walk through the full composite fencing installation process, from fitting panels to finishing trims.
Why Choose Composite Fencing?
Before we dive into installation, it’s worth highlighting why more homeowners and professionals are switching to composite systems:
Low maintenance: No painting, staining, or sealing required.
Durable: Resistant to rot, warping and splitting.
Sustainable: Made from recycled wood fibres and polymers.
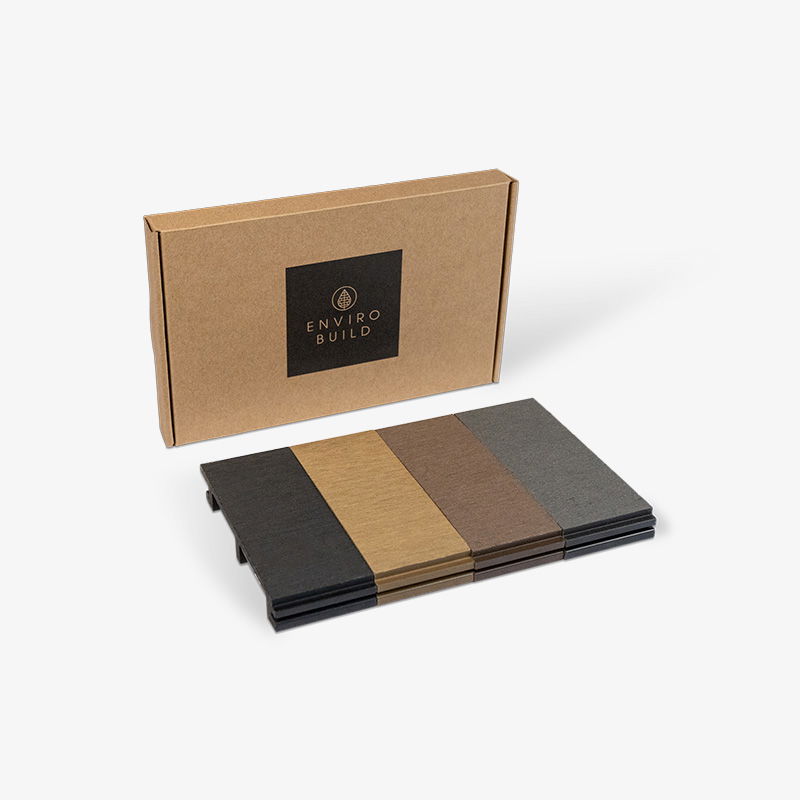
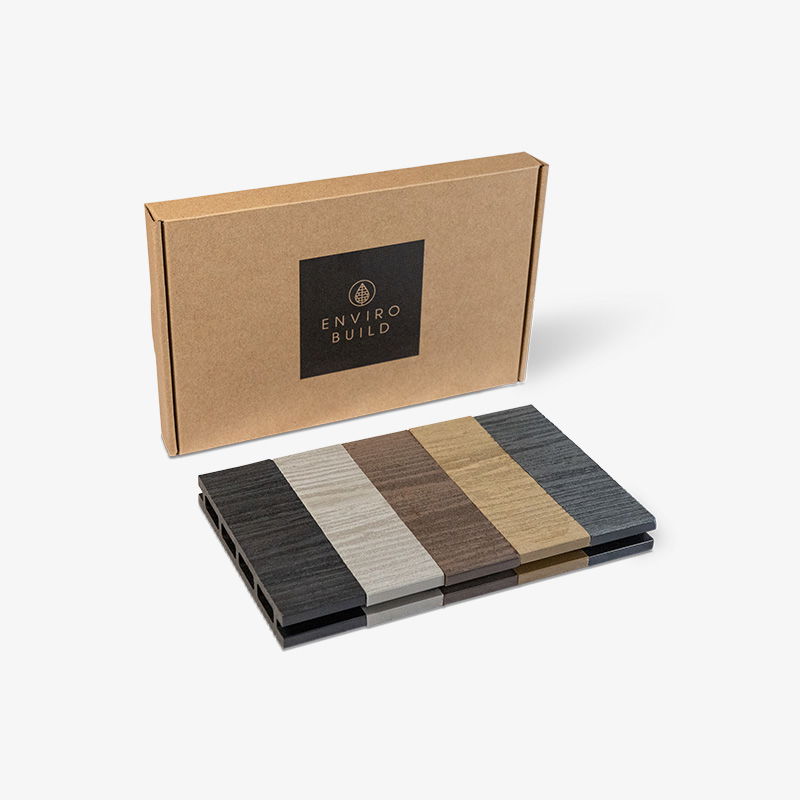
Consistent: Uniform colour and finish across panels.
Simple to install: Modular system with slot-in or channel-based panels.
Once fitted, composite fencing provides decades of performance with minimal upkeep, making it a smart long-term investment.
Recommended Tools
Standard woodworking tools can be used when working with composite cladding:
Circular Saw - we recommend a thin kerf 40-tooth alternate top bevel finish blade to achieve the cleanest cuts.
Power Mitre Saw for efficiency and bevelled edges.
Impact Driver
Tape Measure
Adjustable Spanner
Spirit Level
Chalk Line
Hand Power Drill
10mm masonry drill bit (for 80 mm coach bolts)
Sledge hammer and driving block if using fence post spikes
Please ensure your wellbeing and employ the use of Safety Glasses and relevant Personal Protection Equipment (PPE) when installing EnviroBuild products.
If you are unsure on how to use any tools, please consult the tool manufacturer’s user manual.
Material Storage
Materials should always be covered until ready to be installed to maintain a clean surface. If stored outside use a non-translucent material.
All products should be stored flat and level, supported above the ground at 500 mm intervals.
Battens used to separate and support stored material should be spaced no more than 500 mm apart, to ensure the boards don’t bow.
Stack units with banding and bottom supports aligned.
Pallets of fencing slats should not be stacked more than 4 pallets (3m) in height.
Material Handling
Composite fencing materials should be handled with care when unloading.
When removing slats from a unit, lift the slats and set them down. Do not slide slats against each other when moving them.
Carry fencing slats on the edges for better support.
During construction, do not slide or drag any equipment across the slats.
The surface of the slats should be kept free of construction material and waste to prevent damage.
Each 1.8 m fencing slat can weigh on average 4.5 kg, so please ensure they are handled safely. We recommend that two people handle the boards during transportation.
How to Install Composite Fencing
Due to natural expansion and contraction of material with changes in temperature, please ensure the following gapping requirements for all EnviroBuild Fencing products:
An expansion gap of 4 mm should be left between the fence slat and post. When measuring between post supports you need to allow for the panel cap with 4mm expansion spacing (1774) plus the 100 mm post – 1874 mm spacing in total.
You must leave at least 20 mm from the top of the fence panel and the top of the fence post (not including the post cap).
Step 1.
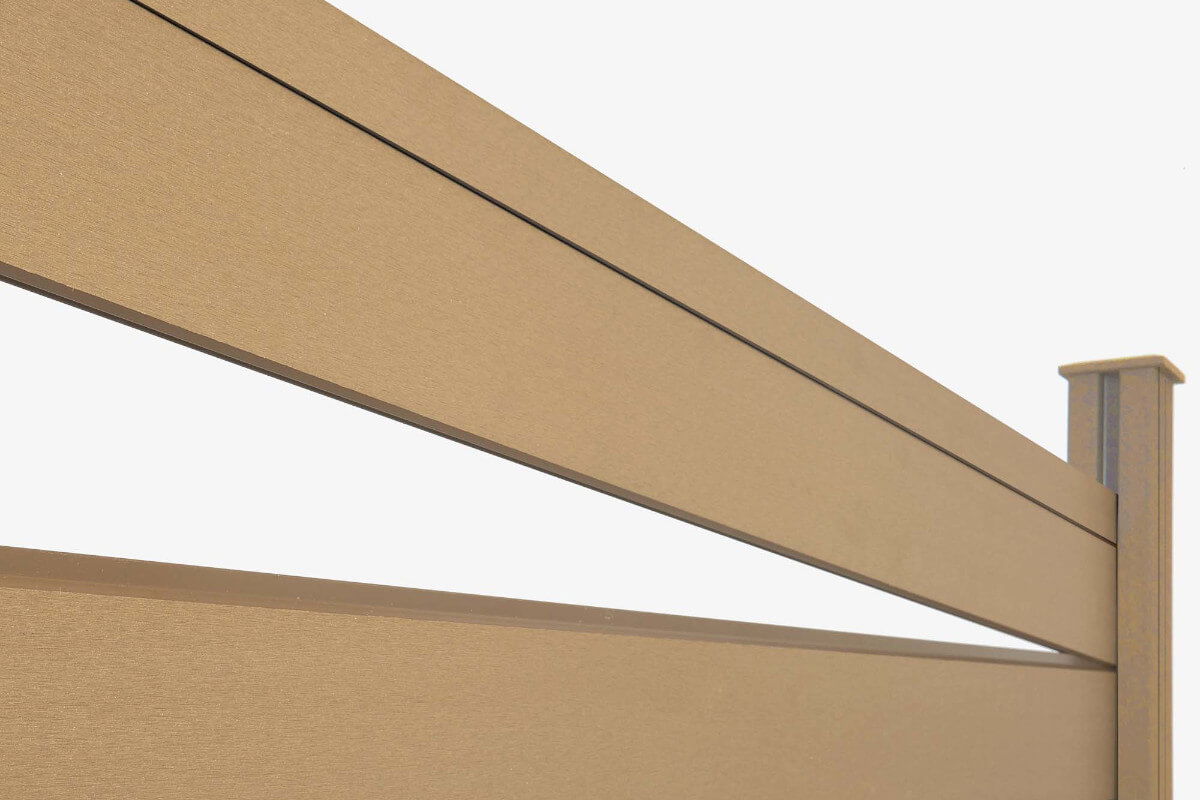
With opposing fence posts in place you can start to add the fence panels.
Slide the initial fence panel down the post grooves into the panel cap.
Once secure, slide the next panel down the post grooves onto the previous fence panel.
Step 2.
Continue to slot in the remaining slats until the required fence height.
12 slats for a standard 1.8 m (6 ft) fence height
Step 3.
With all the boards installed you can finish off the fence panel.
Add panel cap clips on both sides of the panel cap.
Insert panel cap clips with panel cap down the grooves of the opposing posts.
Ensure the panel cap is inserted with its groove down so it holds the final panel.
Step 4.
Insert the fence post caps into the top of the fence posts.
Step 5.
Repeat the steps until the entire fence is complete.
For a sleek finish, slide post inserts into any open grooves.
Installing Composite Fencing on a Gradient
All fence slats and posts can be cut to size to help with slopes:
Either, the fence slat ends can be mitred to account for the angle of the slope, or
The bottom fence panel slat(s) can be ripped to the angle of the slope (the bottom panel cap must be in place when installed)
Installing Composite Fencing at an Angle
The panel clips we provide are made of plastic and can be trimmed to allow the fence panels to be at an angle other than 90 or 180 degrees:
Insert narrow part of panel cap clip into one side of the panel cap.
Insert another panel cap clip into the other side of the panel cap.
Installing Composite Fencing on Existing Posts
If your subframe is levelled and stable, you can start installing your fence slats.
Step 1.
As the fence slats are 1800 mm in length, they will fit between existing standard concrete or wooden posts to replace worn out wooden fence panels:
Use aluminium post channels to secure the fence panels.
Cut the aluminium post channels at the level of the final fence panel.
Step 2.
Pre-drill 5 x 4 mm holes along the centre edge of 2 aluminium post channels (per fence panel).
Step 3.
Screw the aluminium post channels to the inside edge of the existing posts.
For concrete posts, pre-drill and insert rawl plugs to hold screws.
Step 4.
Slide a panel cap down so it sits freely at the bottom.
Step 5.
Slide down fence panels on top of the panel cap until the required height.
Step 6.
Finish the panel by placing the panel cap on top of the final fencing slat:
If you would like, you can attach the panel cap to the final fence slat by pre-drilling and inserting two screws in the panel cap.