
Composite Slatted Cladding Installation: Step-by-Step Guide
Installing slatted composite cladding is a straightforward process that delivers an elegant, weather-resistant façade with minimal maintenance. Designed for precision and longevity, slatted composite cladding systems combine the natural beauty of wood with superior durability and sustainability.

Author Name
Chief Writer
Thu, 28 Jul 2026
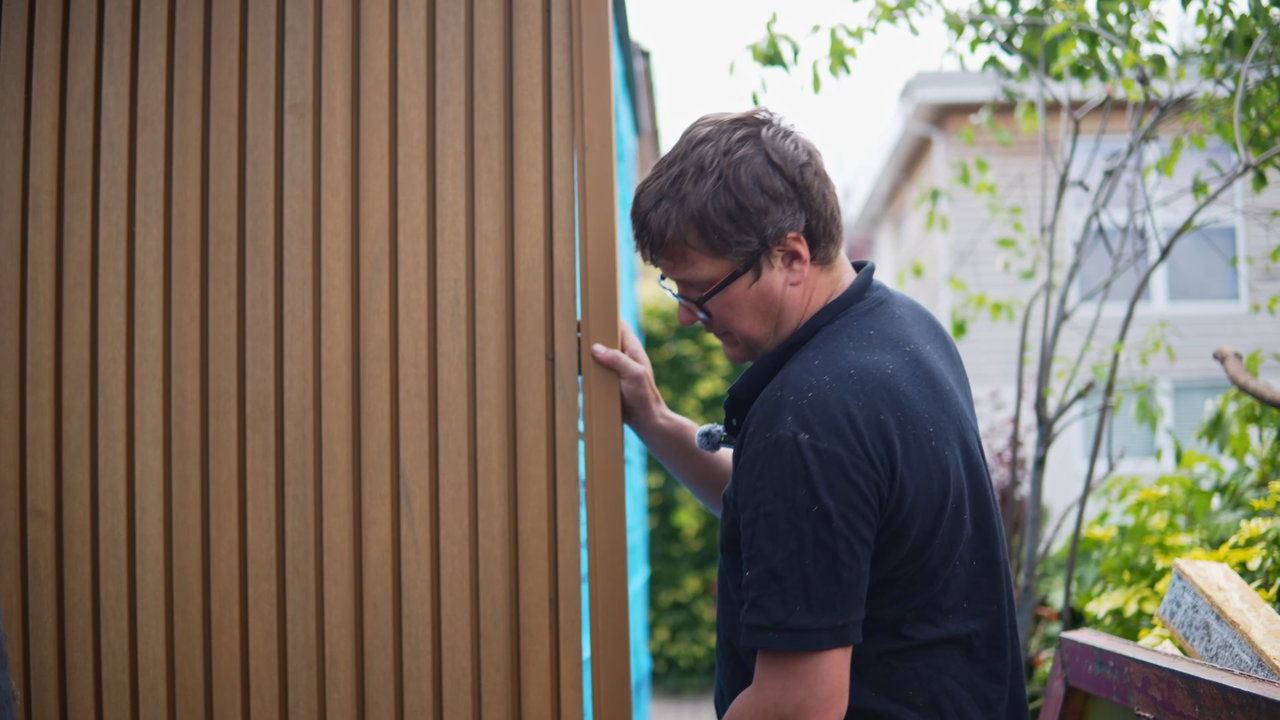
This step-by-step composite cladding installation guide will help you achieve a high-quality finish that looks great and lasts for decades.
Why Choose Composite Cladding?
Before beginning installation, it helps to understand why EnviroBuild Slatted Cladding is such a popular choice for contemporary homes:
Low maintenance: no painting, sealing or staining required.
Durable: designed to resist warping, rotting and splitting.
Moisture resistant: ideal for external use in the UK climate.
Colour stable: made to look good for years to come.
Easy to install: can be fitted with standard woodworking tools.
Once installed correctly, EnviroBuild Slatted Cladding provides a clean, long-lasting finish with minimal upkeep.
Recommended Tools
Standard woodworking tools can be used when working with EnviroBuild Slatted Cladding.
Circular Saw (we recommend a thin kerf 40-tooth alternate top bevel finish blade to achieve the cleanest cuts. If cutting Manticore plastic battens use a tungsten carbide blade)
Power Mitre Saw can also be useful for efficiency and bevelled edges
Hand Drill - 3mm and countersink drill bits (can use all-in-one smart bit)
Impact Driver - use T15 secure drill bit supplied in all Hyperion® hidden fastening packs and use low technique setting
Jig Saw
Tape Measure
Carpentry Square
Spirit Level
Chalk Line
Please ensure your wellbeing and employ the use of Safety Glasses and relevant Personal Protection Equipment (PPE) when installing EnviroBuild products.
If you are unsure on how to use any tools, please consult the tool manufacturer’s user manual.
Material Storage
Materials should always be covered until it is ready to be installed to maintain a clean surface. If stored outside use a non-translucent material.
All products should be stored flat and level, supported above the ground at 500mm intervals.
Battens used to separate and support stored material should be spaced no more than 500 mm apart, to ensure the boards don’t bow.
Stack units with banding and bottom supports aligned.
Pallets of cladding boards should not be stacked more than 4 pallets (3 m) in height.
Material Handling
Cladding materials should be handled with care when unloading.
When removing boards from a unit, lift the boards and set them down. Do not slide boards against each other when moving them.
Carry cladding boards on the edges for better support.
During construction, do not slide or drag any equipment across the boards.
The surface of the boards should be kept free of construction material and waste to prevent damage.
As our cladding is quite long we recommend that two people handle the boards during transportation.
How to Install Composite Cladding
EnviroBuild Slatted Cladding can be fixed in more than one way, depending on the wall and the overall project design.
The boards may be installed:
Screwed to battens attached to subframe battening fixed separately to the wall.
Screwed to battens fixed directly to the outer wall once a waterproof membrane and non-compressible insulation are in place.
Fixed to battens on a self-supporting frame where the wall is uneven or non-load bearing.
Installing the Waterproof Membrane
Before battens are fixed, a water-repellent coating or breathable membrane should be installed to help protect the wall from water penetration.
If water-repellent insulation is being used, a breather membrane may not be required in the same way on a cavity wall.
Installing Cladding Support Battens
EnviroBuild Slatted Cladding can be fixed to aluminium, recycled plastic or treated timber battens.
To prepare the support structure:
Use battens at least 38mm thick to create the required ventilation cavity.
Fix each batten in a minimum of three places.
Install battens at a maximum of 600mm intervals.
Keep a minimum 38mm cavity behind the boards to allow air movement and drainage.
Use insect mesh on cavity openings where needed.
Use treated timber suitable for external use if timber battens are being installed.
The first batten should be positioned at least 20mm above ground level, and all battens should be kept level with packers used where needed.
For vertical installations, counter battens can be used to improve airflow. If counter battens are not used, battens with a 15° tilted top edge are recommended to help shed water away from the substructure.
A double batten structure should be used wherever board ends meet.
Horizontal Composite Cladding Installation
For horizontal installations, begin by preparing the starter board.
Step 1: Prepare the starter board
Rip the board down its length along the last indent channel on the screw-channel side.
Cut the board to the required length.
Allow for the correct expansion gap spacing.
Mark level lines on the battens for the starter board.
If insect mesh is being installed, this can be fixed in place before the starter profile is added.
Step 2: Fix the starter board
Position the starter board so it sits 20mm above the ground surface.
Ensure the starter board is level.
Pre-drill 7mm screw holes in the centre of the fixing channel.
Align the holes with the supporting battens.
Fix the board into place using the appropriate EnviroBuild screws.
Do not overtighten.
Step 3: Fit the first full board
Push the tongue side of the cut board into the starter board groove.
Pre-drill 7mm screw holes in the centre of the fixing channel.
Fix the board to the battens using the appropriate screws.
Again, do not overtighten.
Step 4: Continue the run
Fit the next board in the same way.
Check each board is level before fixing the next one.
Continue until you reach the top edge of the wall or a maximum run length of 4m.
If the run exceeds 4m, leave a minimum 20mm expansion gap before starting a new section.
Step 5: Finish the final board
You may need to rip the last board to size.
Allow for the correct expansion gap.
Pre-drill and countersink the fixing holes where required.
Secure the final board using colour-matched countersunk screws.
Avoid overtightening the screws.
Vertical Composite Cladding Installation
For vertical installations, the same fixing principles apply, but additional care should be taken to maintain airflow behind the boards.
Use counter battens to improve drainage and ventilation.
If counter battens are not used, use battens with a 15° tilted top edge.
Start from the corner or edge of the design.
Mark level lines on the battens for the first board.
Ensure the first board sits 20mm above the ground surface.
Continue fitting the boards in sequence until the wall is complete.
Finishing Corners and Windows
Corner trim and fascia board can be used to finish corners, doors and window frames. Edge Boards are not a suitable solution for vertical cladding.
Installing Flush Corner Profiles
External corners can be finished with a flush corner profile.
Complete one wall run before starting the opposing wall.
Pre-drill 7mm fixing holes through the centre of the profile fixing channel.
Trim the final board so the profile tongue can hold it in place.
Position the board and profile together.
Fix the profile using the appropriate screws.
Secure the trimmed board with colour-matched countersunk screws.
Once fixed, continue the cladding on the adjoining wall.
Installing Window Reveals
Around windows and doors, the slatted window reveal profile can be used to create a neat edge while keeping the slatted pattern aligned.
Install additional battens around all openings.
A second fixing batten is required above windows and doors.
The reveal profile can cover the cladding board and up to 40mm of battening.
If the window sits further in, the boards can be used to cover the inset while the reveal profile finishes the corner joint.
For the best result:
Cut the first reveal profile to fit the opening edge next to the installed boards.
Mitre adjoining ends at 45 degrees where profiles meet.
Fix the reveal in place with colour-matched screws.
Position the opposing reveal so it aligns with the slatted pattern.
Fit the top reveal last, once the surrounding boards and side reveals are in place.
Installing Corner Cover Edging
EnviroBuild Corner Cover Trim can be used to hide exposed board edges and visible substructure around corners, doors and window frames.
Measure the required length and cut the trim to size.
Mitre the ends at 45 degrees where trims meet.
Position the trim over the edge to be covered.
Pre-drill and countersink the fixing holes.
Fix in place with colour-matched countersunk screws.
Covering Expansion Gaps
Where an expansion gap needs to be concealed, the corner cover profile can be adapted to provide a neat finish.
Use the 73x73mm corner cover profile as a cover for expansion gaps running parallel to the boards.
Cut one leg off the profile to leave a flat cover board.
Pre-drill and countersink the fixing holes before securing it in place.
For horizontal expansion gaps, a drip tray can be used:
Install the lower cladding run up to a maximum of 4m.
Fix the drip tray level to the supporting wall so it covers the top edge of the completed run.
Install the upper cladding run above it.