
Composite Decking Edge Board Installation: Step-by-Step Guide
A perfectly installed deck doesn’t just rely on solid structure or board alignment, the finishing details matter just as much. Composite decking edge boards create a clean border that conceals exposed board ends, enhances durability and gives your outdoor space a refined, professional appearance.

Author Name
Chief Writer
Thu, 28 Jul 2026
This decking edge board installation guide explains how to fit edge boards for a seamless finish.
What Is a Decking Edge Board?
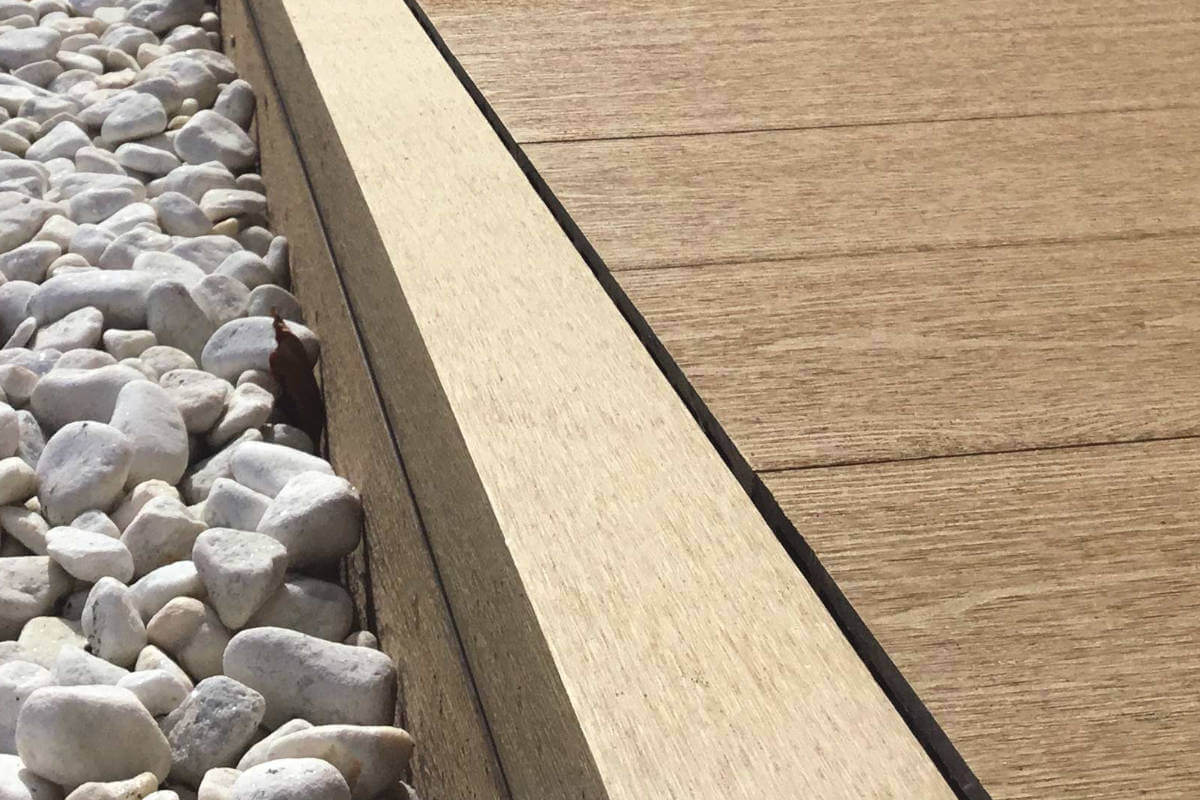
An edge board is a flat composite board used to finish the outer edges of a deck. It provides both aesthetic enhancement and edge protection, ensuring your decking looks complete from every angle.
Key benefits of using edge boards:
Conceals cut ends of decking boards for a polished appearance.
Protects edges from moisture and impacts.
Creates visual definition, outlining steps, perimeters or raised sections.
How to Install Composite Decking Edge Boards
Edge boards can be used with the hidden fastener system to create a perfectly flush finish on deck edges and steps.
Ensure to keep a 6 mm expansion gap between edge board butt joints (minimum 0.2% of the boards length).
When using edge boards, use decking boards to complete the vertical deck skirting. (Edge boards are not compatible with EnviroBuild fascia boards
.)
Note: Edge boards are for use with Explorer composite decking, if you're using Frontier boards, opt for bullnose edging.
There are two methods for installing the board, parallel and perpendicular to the decking.
Parallel Edge Board Installation
Step 1 - Mitre the ends
Where fixing the edge boards around a corner, mitre the ends at 45° angles.
Step 2 - Secure with fasteners
Place the edge board over the edge of the joist and secure it in place with hidden fasteners at 300mm intervals. Your chosen finish will affect the type of fasteners you should use to install the board:
If you are using a deck board for your fascia, use a 6mm or 3mm hidden fastener to secure the bottom of the edge board.
OR
If you are not planning to add fascia, you can use a starter fastener along the bottom edge.
Secure the top side of the edge board with 6 mm hidden fasteners.
Lightly secure down to the joist, you will fully tighten once the next board is in place.
Step 3 - Place the first deck board
Once secured in place, slide the first deck board into the hidden fasteners.
Step 4 - Tighten the fastener
Fully secure the hidden fastener to the joist.
Perpendicular Edge Board Installation
Step 1 - Mitre the ends
Where fixing the edge boards around a corner, mitre the ends at 45° angles.
Step 2 - Install starter fasteners
Install starter fasteners on the top side of the outer joist (the vertical clip edge should be 35 mm from the outer joist edge). Starter fasteners should be installed every 300 mm along the length of the joist.
Step 3 - Insert edge board into clips
Clip the edge board into the starter clips.
Step 4 - Secure the edge board
With the edge board in place, use hidden fasteners (3 mm or 6 mm) to secure the bottom side of the edge board:
Only secure lightly in place if you plan to install a deck board fascia then tighten once the first fascia board is in place
Common Mistakes to Avoid
Over-tightening screws.
Cutting boards too short or without accurate mitres.
Forgetting expansion gaps.
Misaligning trims or fascia boards.
Avoiding these mistakes ensures your deck’s perimeter looks uniform and professionally installed.
A Perfectly Finished Deck Edge
Installing composite decking edge boards is the final touch that defines your deck. A carefully aligned, well-secured edge creates a smooth transition between deck and surrounding surfaces while protecting your structure from long-term wear.
EnviroBuild offers a complete range of composite decking boards, edge trims and fascia systems, engineered for fast installation and lasting performance.