
Fibre Cement Decking Installation: Step-by-Step Guide
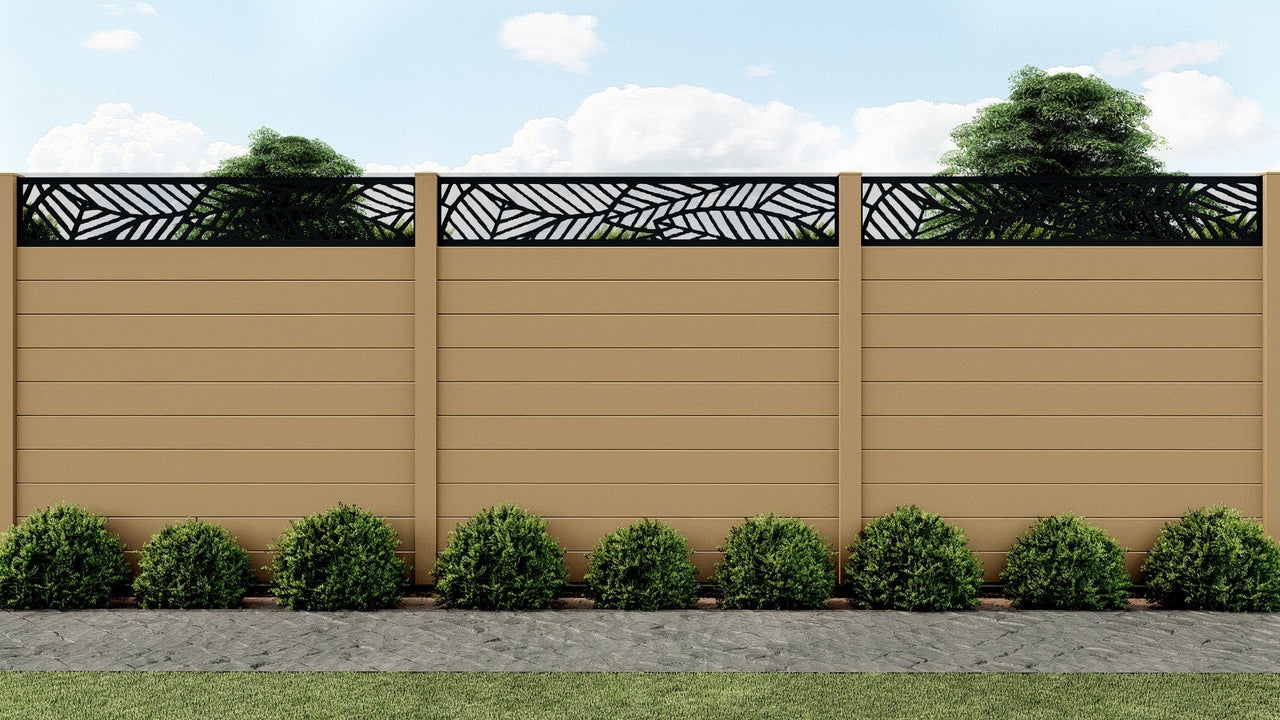
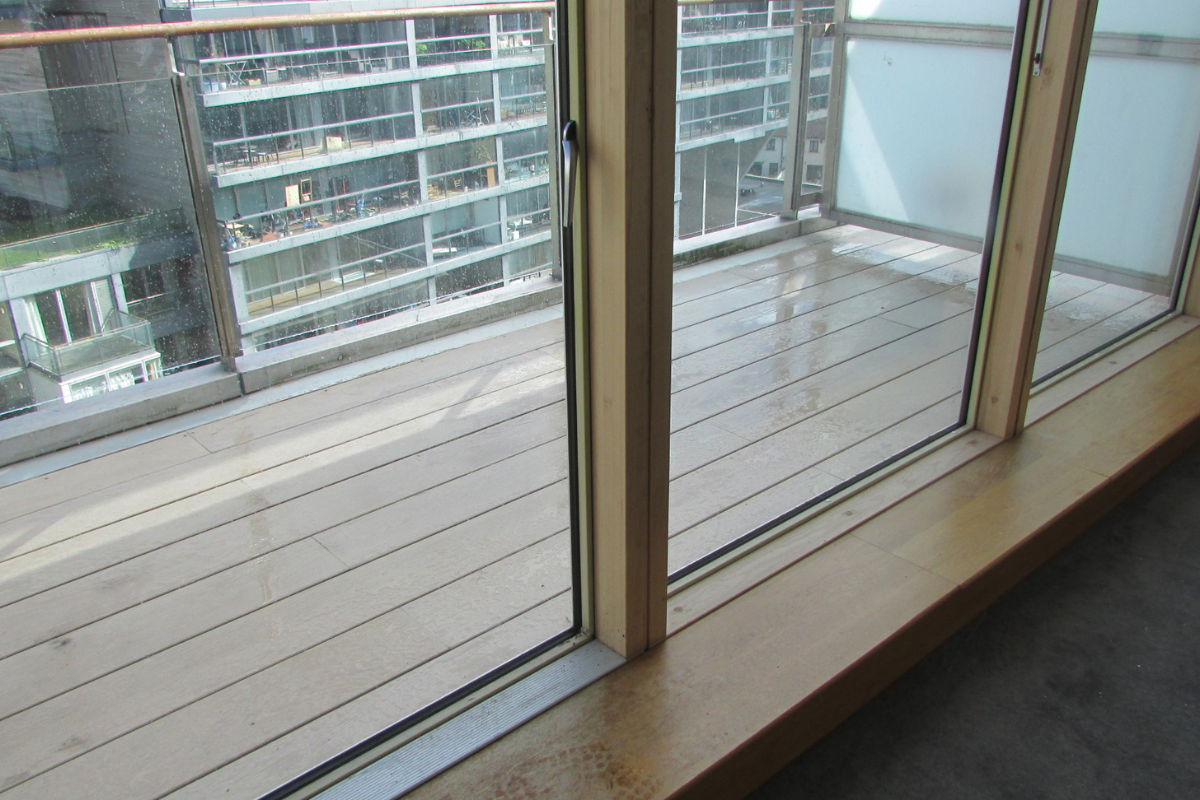
Fibre cement decking offers an exceptionally durable, A-rated fire-resistant solution for modern terraces, balconies and podium decks. Fibre cement boards combine the appearance of natural wood with the strength and safety of mineral-based materials.

Author Name
Chief Writer
Thu, 28 Jul 2026
This fibre cement decking installation guide walks through every stage, from substructure preparation to fixing and finishing, helping you achieve a professional result.
Why Choose Fibre Cement Decking?
Fibre cement decking is engineered for performance and safety, making it one of the most advanced materials for external flooring in high-spec projects.
Key benefits include:
Fire resistance: Typically Euroclass A1 or A2-s1,d0, fully non-combustible.
Durability: Resistant to rot, insects and UV exposure.
Dimensional stability: Minimal thermal expansion compared to plastics or wood.
Low maintenance: No sealing, staining or painting required.
Slip resistance: Textured surfaces suitable for wet environments.
Ideal for balconies, roof terraces, podium decks and walkways, fibre cement decking delivers a long-lasting, compliant finish for projects requiring the highest safety standards.
Safety and Preparation
Safety Gear: Wear protective gear, including safety goggles, gloves and a high-quality dust mask or respirator, as cutting fibre cement can create harmful dust.
Gather Materials and Tools: You'll need fibre cement decking boards, a circular saw, drill, screws, tape measure, level and chalk line.
Site Preparation: Clear the area where you'll install the decking. Remove any debris, rocks, and ensure the ground is level.
Spacing Between Fibre Cement Boards
Spacing at the end of boards should comply with local building regulations, but in all cases allow for drainage.
Spacing at the butt joints should be 2 mm to allow for expansion and contraction. If you wish to allow less then bear in mind the expansion of coefficient is 0.008mm/m/C
How To Install Fibre Cement Decking
Measure and Cut: Measure the decking area and cut your boards to size, allowing for an expansion gap between boards. Read our article on
for more details.
Laying the Boards: Start laying the decking boards from one edge, ensuring each board is straight and aligned.
Fastening the Boards: Use stainless steel screws or nails to fasten the boards to the joists. Pre-drill holes to prevent splitting the boards.
Spacing Between Boards: Maintain a consistent gap between boards for expansion and contraction. This also allows for drainage and ventilation.
Expansion and contraction: Always account for the expansion and contraction of the fibre cement boards due to temperature changes.
Use recommended fasteners: Use the clips that are specifically designed for fibre cement decking.
Step 1
Drill a pilot hole through not just the cement fibre board but also the substructure as the screws are not self drilling for aluminium or steel.
The first board should be fastened using coloured screws. These should be placed around 25 mm in from the outside edge of the board.
Step 2
To fix adjacent boards, place hidden fasteners into the grooved edge of the fixed board and insert the secure screw into the hidden fasteners. This should give an even 6 mm gap between boards
Do not tighten fully at this point.
The screw holes should be lined up with joist centres.
Ensure the countersunk section of the hidden secure fastener is facing up.
Install 1 hidden fastener on each joist.
Always use hidden fasteners at board ends.
Use 1 fastener per board end at butt joints (never share a fastener across 2 board ends).
Step 3
Place the next board into position against the hidden fasteners
Slightly raise the outer edge of the board being installed and slide it onto the fastener.
Ensure the decking board edge contacts the spacer tab.
Lightly tap into position if required.
Step 4
Fully tighten the fasteners, between the last boards installed, down to the joists.
Apply sideward pressure on the decking to ensure that the tabs are hard up against the inside of the decking groove.
Step 5
Repeat steps 2 - 4 until you reach the last board. The last board is unlikely to fit exactly, so should be ripped down its length. The outside edge of the last board should be attached similarly to the first board in Step 1.
Cleaning Up: Clean the deck surface to remove any sawdust or debris.
Maintenance Tips
Maintaining your fibre cement decking ensures it remains in excellent condition for years.
Regular Cleaning: Sweep the deck regularly and wash it occasionally with mild soap and water. Check our fibre cement decking care guide
for more information.
Periodic Inspections: Regularly inspect for any signs of damage or wear.
By adhering to these guidelines, you can enjoy the many benefits of fibre cement decking, including its durability, aesthetic appeal, and low maintenance requirements, making it a valuable addition to your home.
A Durable, Fire-Safe Deck for Modern Applications
Installing fibre cement decking is straightforward with the right preparation and substructure. When laid correctly, it delivers a sleek, durable and fully non-combustible decking surface, ideal for high-rise balconies, podiums and terraces.
With exceptional fire performance, slip resistance and minimal maintenance, fibre cement decking is a long-term investment in both safety and design.
EnviroBuild offers a full range of A-Class fibre cement decking systems, complete with compatible substructures and pedestal supports.