
Round Composite Decking Installation: Step-by-Step Guide for Curved Deck Designs
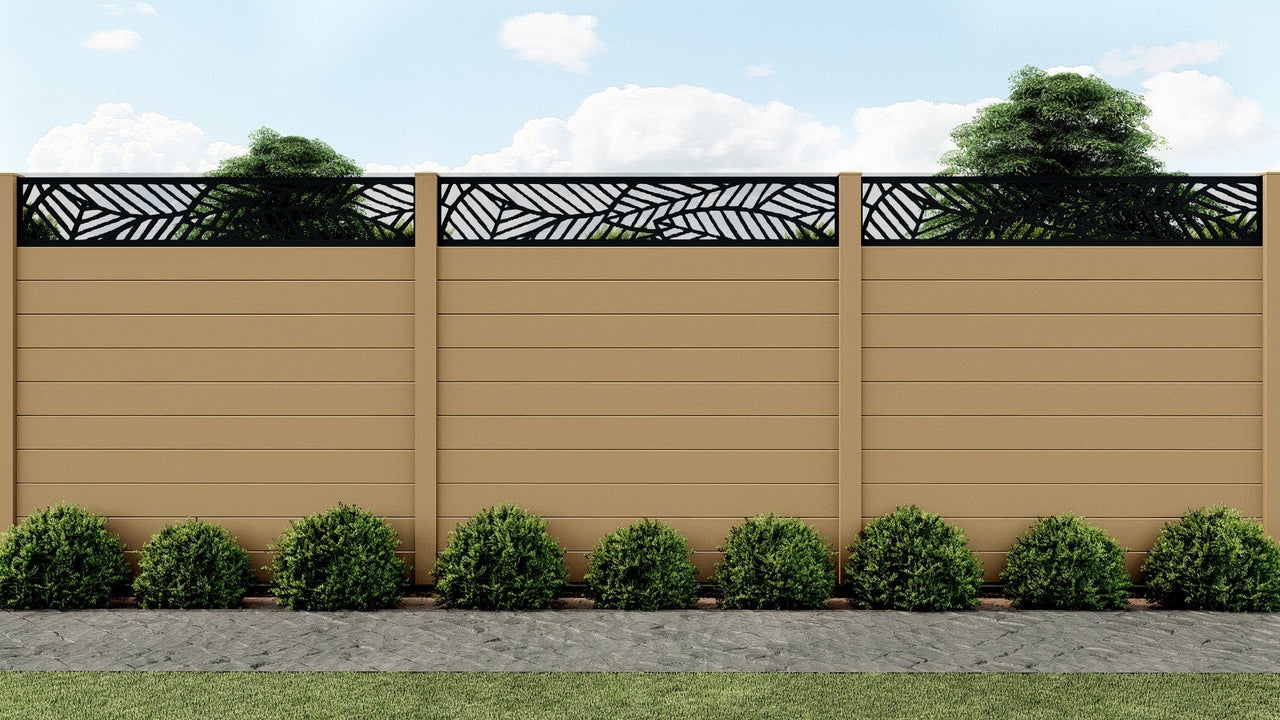
Round or curved decking creates a stunning feature that softens sharp edges and complements natural garden shapes. Whether you’re building a curved terrace, a circular seating area or a wrap-around deck.

Author Name
Chief Writer
Thu, 28 Jul 2026
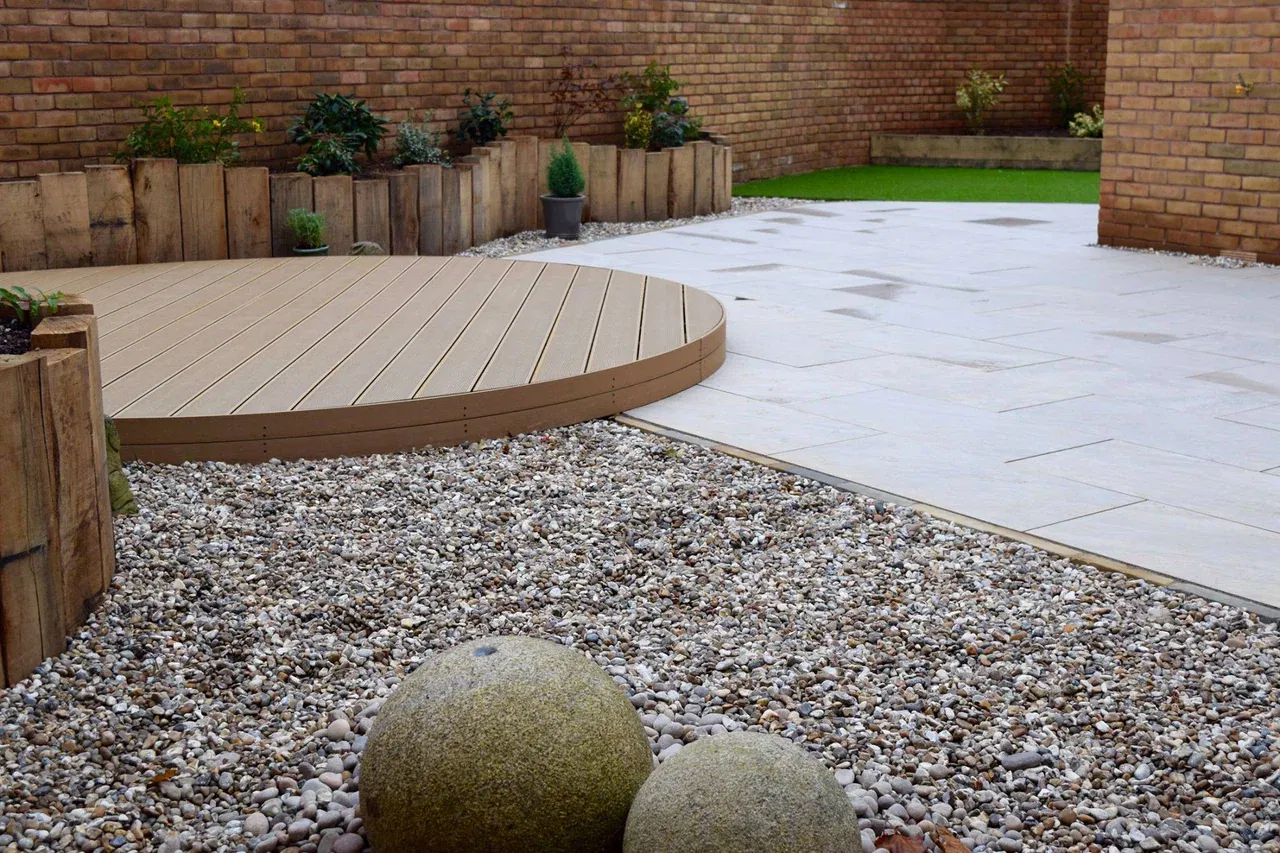
This round decking installation guide explains how to install composite decking boards for a flawless curved finish that’s both visually striking and long-lasting.
Why Choose a Round or Curved Deck Design?
Circular or curved decks bring a sense of flow and harmony to outdoor spaces, ideal for modern gardens, pool surrounds or landscaped terraces.
Benefits of round decking:
Softens straight lines and blends seamlessly with organic garden forms.
Enhances focal points such as trees, fire pits or water features.
Visually expands space in smaller gardens.
Adds architectural value to patios, balconies and rooftop terraces.
Round decking works perfectly with composite materials, which can be cut precisely and curved for accuracy. With the right installation approach, curved decks are not only beautiful but also practical and durable.
How to Install a Round Deck
Despite its straight and rigid nature, it is possible to build a curved deck with composite decking. The decking boards will need to be cut to a curve using a circular saw.
Composite fascia boards are thin and flexible enough that they will bend around the curve to give the edge a clean finish.
Step 1 - Lay the joists
Prior to building the substructure, measure around the inside of the curve and ensure the substructure is in place at regular enough intervals to hold the fascia to the curve. Cut your joists to the desired curved shape:
Exact angles will depend on the desired position of the decking boards; it is possible to lay decking at up to 45° along joists, although joist spacing will need to be adjusted based on this.
It is important to keep the joists as close to perpendicular along the curved edge as possible.
Step 2 - Brace the gaps
Using straight lumber, brace the gaps between the joists, cutting the ends at angles to follow the curve.
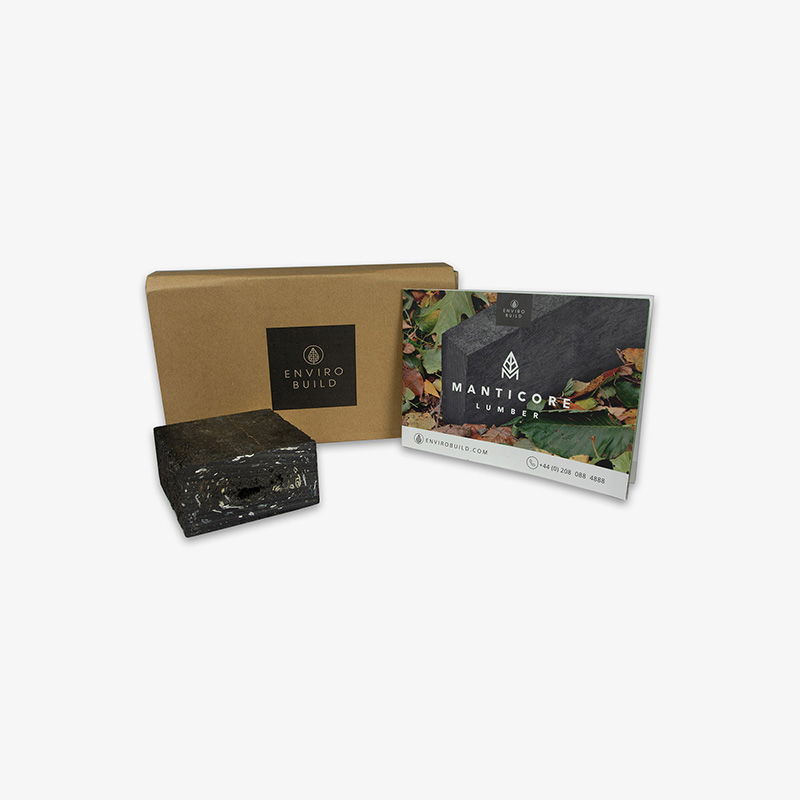
We recommend using Manticore plastic lumber
Step 3 - Install deck boards and fascia
Finally, after installing the decking boards as normal, a composite fascia board can be used to create the outer curve:
Gently bend the fascia board around the curve, screwing it into the ends of the joists using a standard countersunk wood screw. This is very much a two-person job, where one person can apply pressure while the other is screwing the fascia in place.
Ensure to fix the fascia board to the joists rather than the braces.
Another method of finishing a circular deck is by heating the fascia boards. Due to the plastic content, they will become softer and easier to bend to a variety of shapes. However, it is technically difficult to do without damaging the boards. It also requires specialist equipment and does not give significantly better results, thus we do not recommend this option.
Keep in mind that you can do either an inwards or an outwards curve for your deck. And it can also be incorporated into stairs.
Composite Decking Built to Last
Installing a round or curved deck is a rewarding project. With accurate planning, careful cutting and quality materials, you can achieve a stunning circular design that complements natural landscapes and modern architecture.
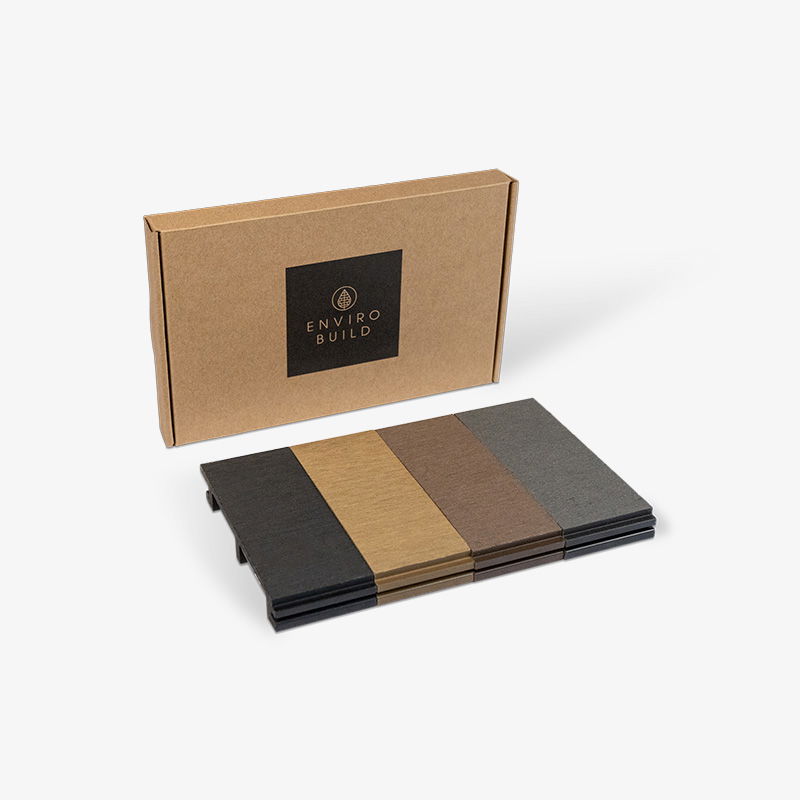
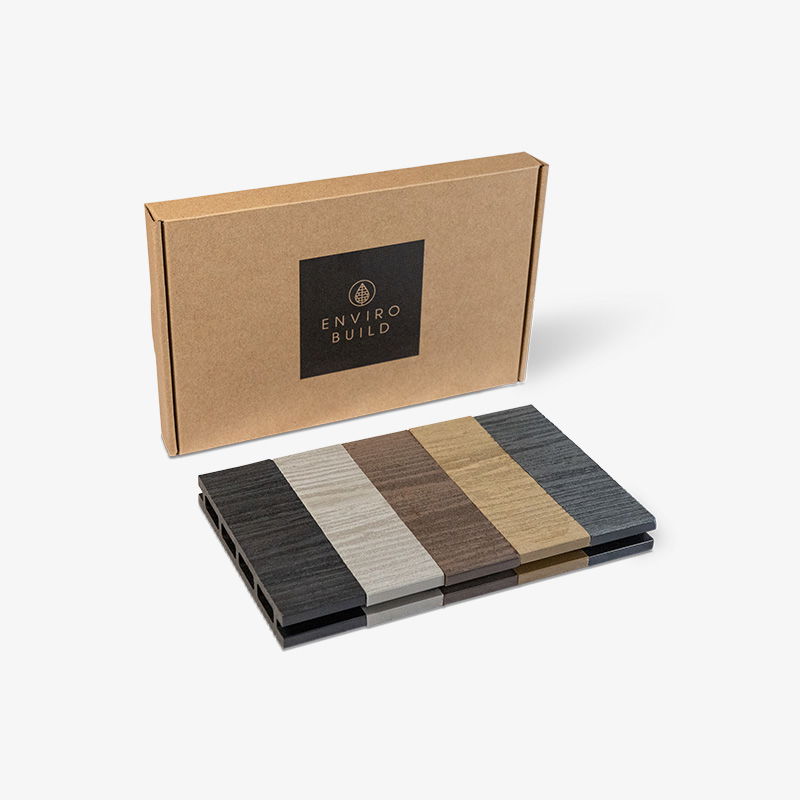
EnviroBuild offers a complete range of composite decking boards, trims and substructure systems, designed for both traditional and curved installations.