
Composite Decking Care Guide
Composite decking is designed to provide the beauty of timber without the demanding upkeep. While it’s remarkably low-maintenance, a little care goes a long way in preserving its long-lasting appearance and performance. This guide explains everything you need to know about cleaning, maintaining, and protecting your EnviroBuild composite decking, ensuring it continues to look its best for years to come.
Whether you’ve installed the Explorer or Frontier range, both are made from recycled materials and built for durability, fade resistance, and sustainability. Follow the guidance below for simple, effective care.

Author Name
Chief Writer
Thu, 28 Jul 2026
Routine Cleaning & General Maintenance
Keeping your composite decking clean is straightforward. Regular upkeep not only maintains its visual appeal but also prevents dirt build-up and ensures effective drainage between boards.
Cleaning Steps
Sweep away debris such as leaves, dust and dirt with a soft broom.
Wash the surface using warm, soapy water and a soft-bristle brush.
Rinse thoroughly with clean water to remove all soap residue.
Allow to air dry, there’s no need for oils or treatments.
Additional Guidance
Frequency: A monthly clean, or as needed, is generally sufficient.
Cleaning products: Use biodegradable detergents or mild household soaps. Avoid harsh solvents or bleach.
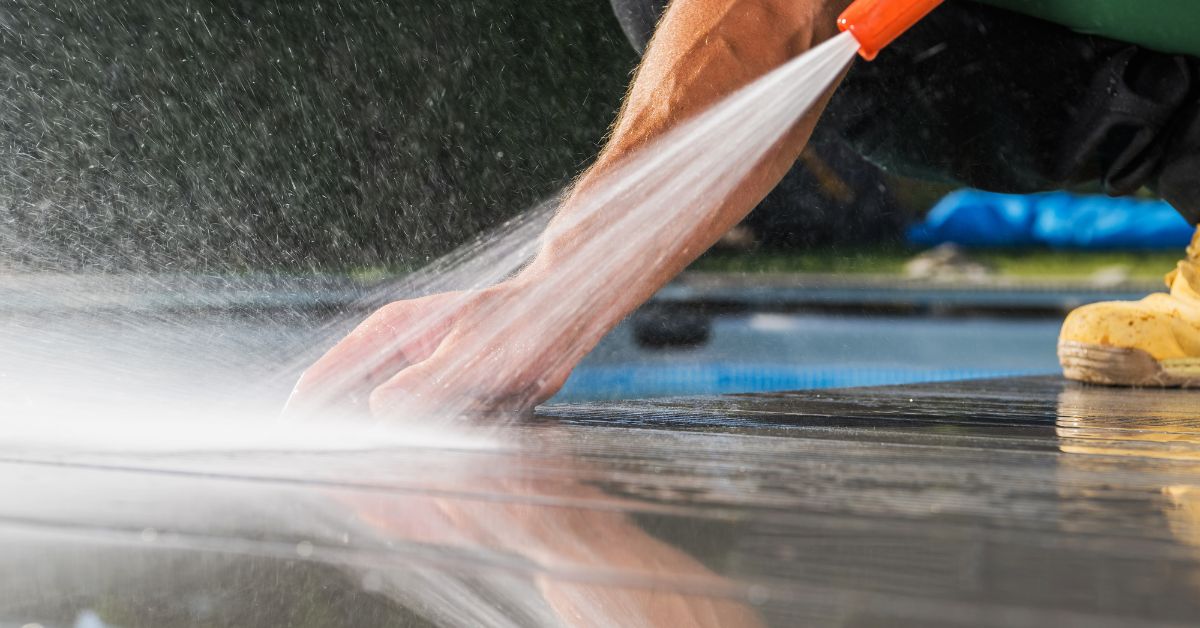
Pressure washing: If preferred, use a low-pressure washer (below 1500 psi) held at least 30 cm away from the surface.
Drainage: Keep gaps between boards clear to allow water to flow freely and prevent standing water.
Regular maintenance will ensure your composite decking continues to perform as designed, even in the UK’s variable weather conditions.
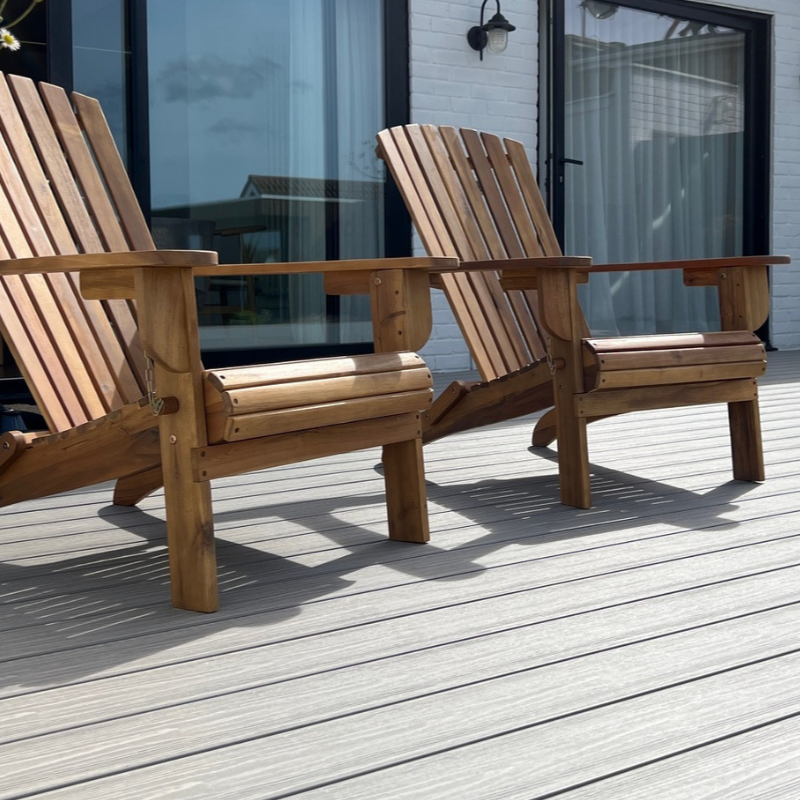
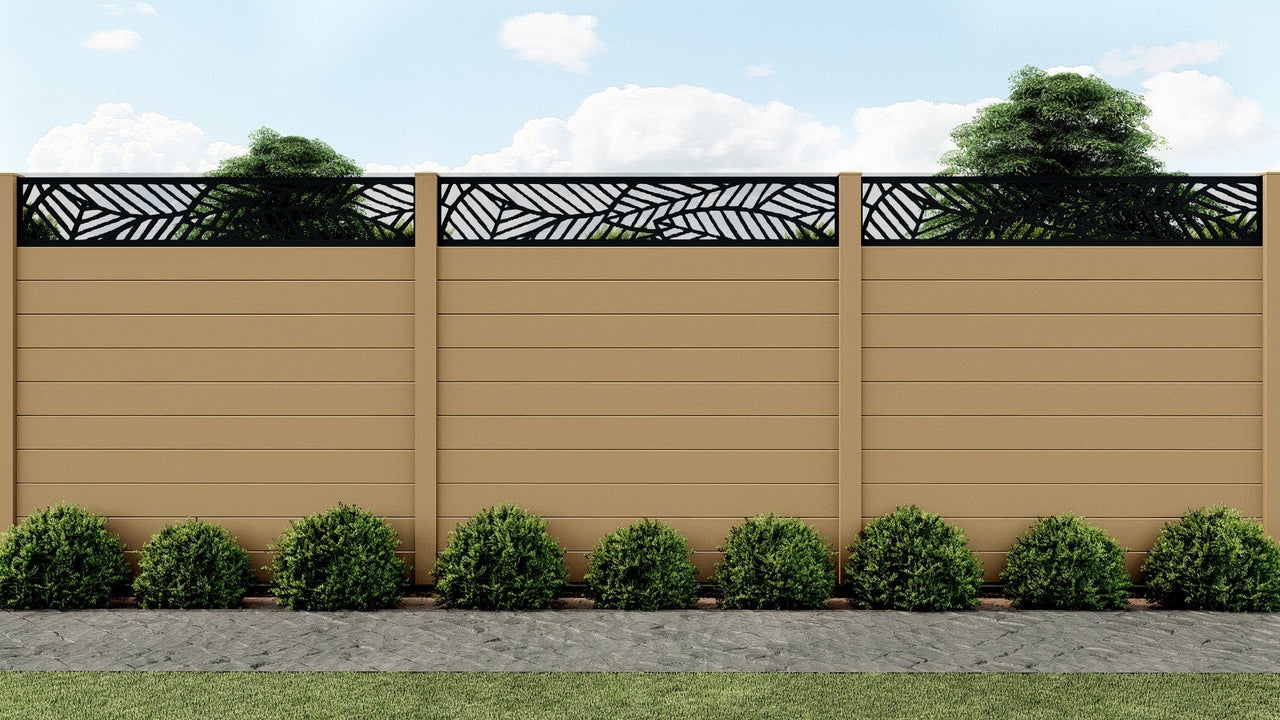
Image Description
Seasonal Maintenance Tips
Each season brings unique challenges, but composite decking’s weather-resistant design makes it easy to manage with minimal effort.
Spring & Autumn:
Sweep regularly to remove pollen, soil and leaves. A light wash will refresh the surface after winter or before summer gatherings.
Winter: Composite boards can withstand frost and cold. Use a plastic shovel (not metal) to clear snow, and avoid de-icers containing calcium chloride which can leave marks.
Summer: No need to oil, paint or stain, simply keep your deck clean to enjoy its natural colour and slip-resistant surface.
Stain, Scratch & Mark Removal
Everyday life may leave the occasional mark, but these are easy to handle.
Food & Drink Spills: Wipe up promptly and clean with warm soapy water. For stubborn stains, use a soft brush and mild cleaner.
Mud & Rust: Clean using a gentle household detergent.
Capped (Frontier) vs Uncapped (Explorer): Frontier boards feature a protective cap layer for enhanced stain and fade resistance, making them particularly easy to maintain. Explorer boards may benefit from quicker cleaning after spills to prevent light staining.
Surface Scratches: Light scratches on uncapped boards can be reduced by gentle sanding along the grain. Avoid sanding capped boards, as this may damage the surface layer.
Long-Term Care & Lifespan
Composite decking from EnviroBuild is designed for decades of enjoyment with minimal effort.
Colour Stabilisation: UV stabilisers ensure resistance to fading. Slight lightening in the first few months is natural as the boards weather evenly.
Hardware Checks: Inspect fixings, trims and edges annually to ensure everything remains secure.
Longevity: Properly maintained, composite decking typically lasts 25 years or more, offering long-term value and performance.
Technical Support & Resources
For further details on maintaining your composite decking, explore our technical documents and installation resources:
Composite Decking Downloads
If you need personalised advice on restoring or maintaining your composite decking, contact our expert technical team for support and guidance on 020 8088 4888