
Composite Decking Picture Frame Border Installation
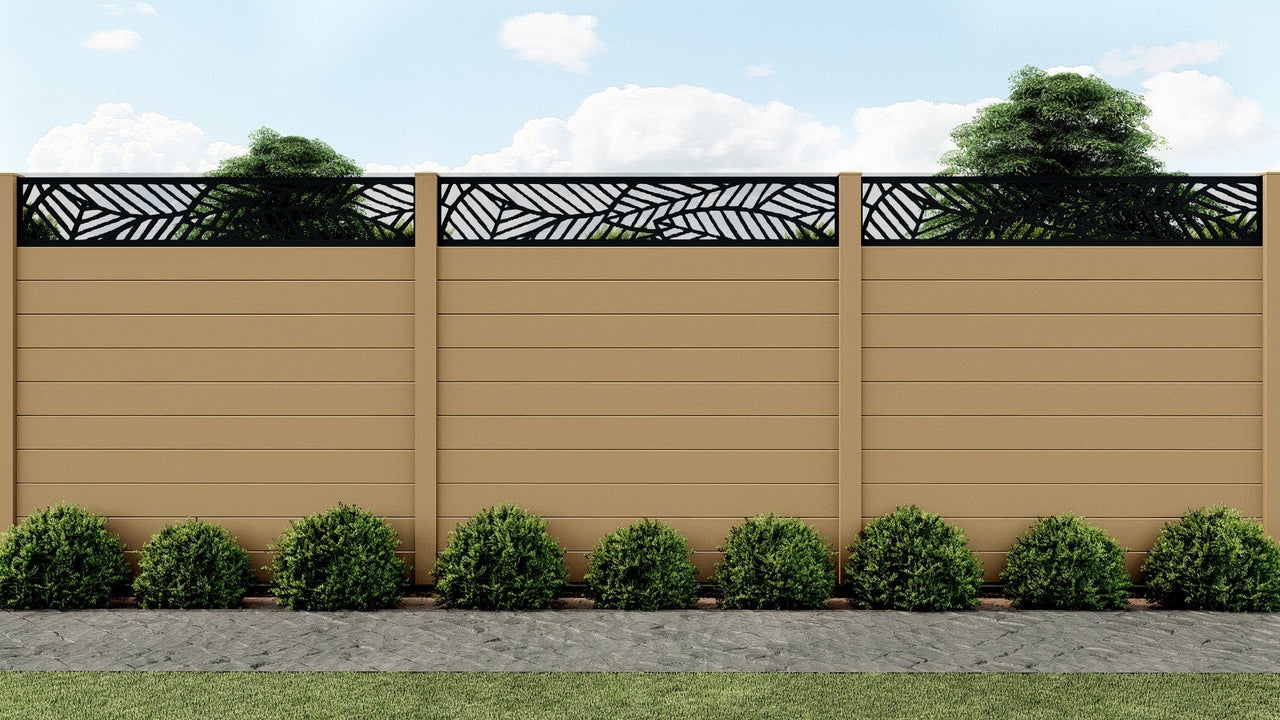
Adding a picture frame border to your composite decking is one of the best ways to elevate your outdoor space. This technique uses perimeter boards to frame the main deck area, creating a decorative edge that looks as if it were “framed” like a piece of artwork.

Author Name
Chief Writer
Thu, 28 Jul 2026
This composite decking picture frame border installation guide explains how to install boards for a stylish, long-lasting finish.
What Is A Picture Frame Decking Border?
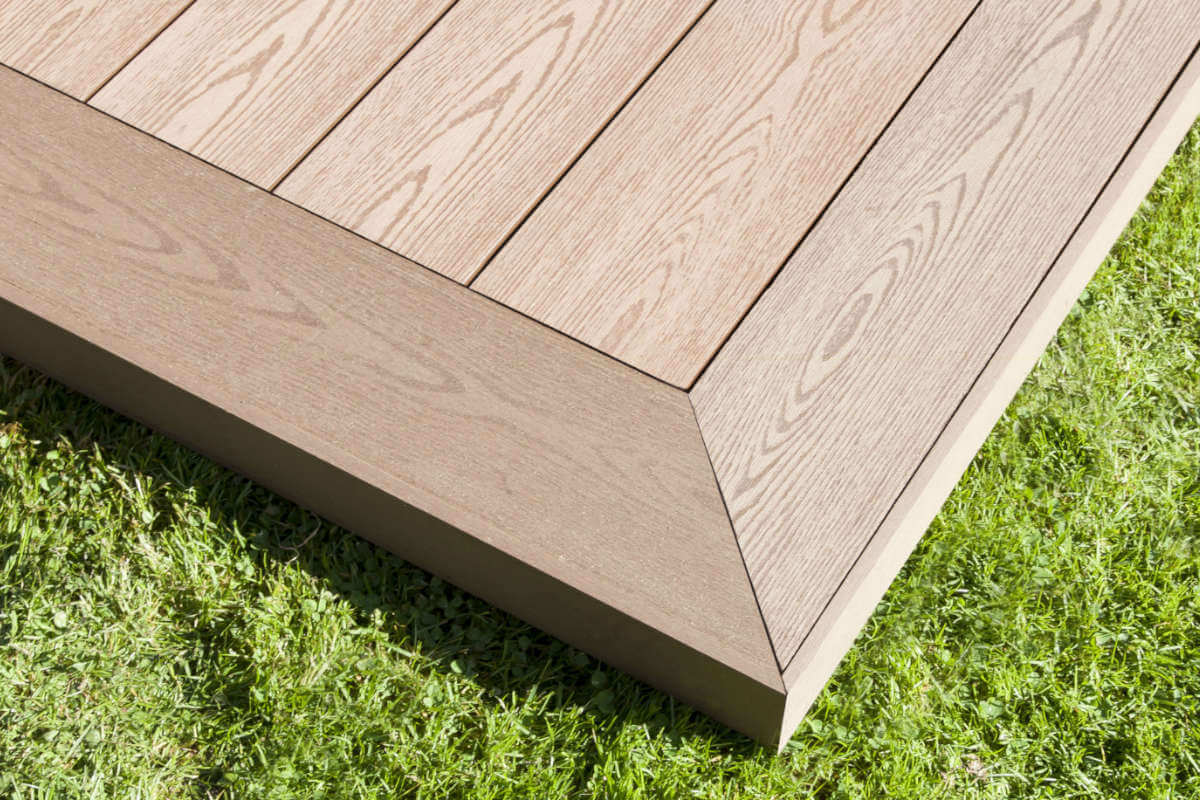
A picture frame border is a perimeter detail where decking boards are laid at right angles (or parallel) to the main field boards, running continuously around the deck’s outer edge.
Polished aesthetics: Create a clean, professional, architectural finish.
Defines transitions: Perfect for framing steps, seating areas or in-deck features.
Composite decking lends itself perfectly to this method, offering clean edges, no splintering and long-term colour stability.
How To Install A Decking Picture Frame Border
If you are planning a picture frame border design for your deck you need to ensure you install the correct substructure layout.
Step 1 -Ensure double joists for end boards
A full joist width must be used under each deck board end. Where the picture frame board runs perpendicular to the main deck, you must have a double joist structure.
Step 2: Install the parallel board
Where the picture frame runs parallel to the main deck install the board with a 45° mitred end.
Step 3: Install starter clips for the perpendicular board
For the boards that run perpendicular to the main deck, place starter clips on the inner joist to hold the inner board edge in place.
A clip should be installed every 300 mm along the length of the joist.
Step 4: Slide the perpendicular board into place
Slide the picture frame board into the starter clips.
You must leave the standard expansion gap between the mitred ends of the picture frame border.
Step 5: Secure the board
With the picture frame board in place, screw through it’s outer bottom edge at an angle, securing it to the joist.
Pre-drill pilot holes in the deck boards 2mm wider than the screw shank.
Do not over drive screws into the deck boards to avoid the material splitting. Finish tightening by hand.
A Designer Finish That Lasts
A composite decking picture frame border transforms any deck into a statement piece. By following correct installation techniques you’ll achieve a professional finish that enhances both the beauty and durability of your outdoor space.
EnviroBuild offers a complete range of composite decking boards, border trims and substructure systems engineered for quick installation and lasting performance.